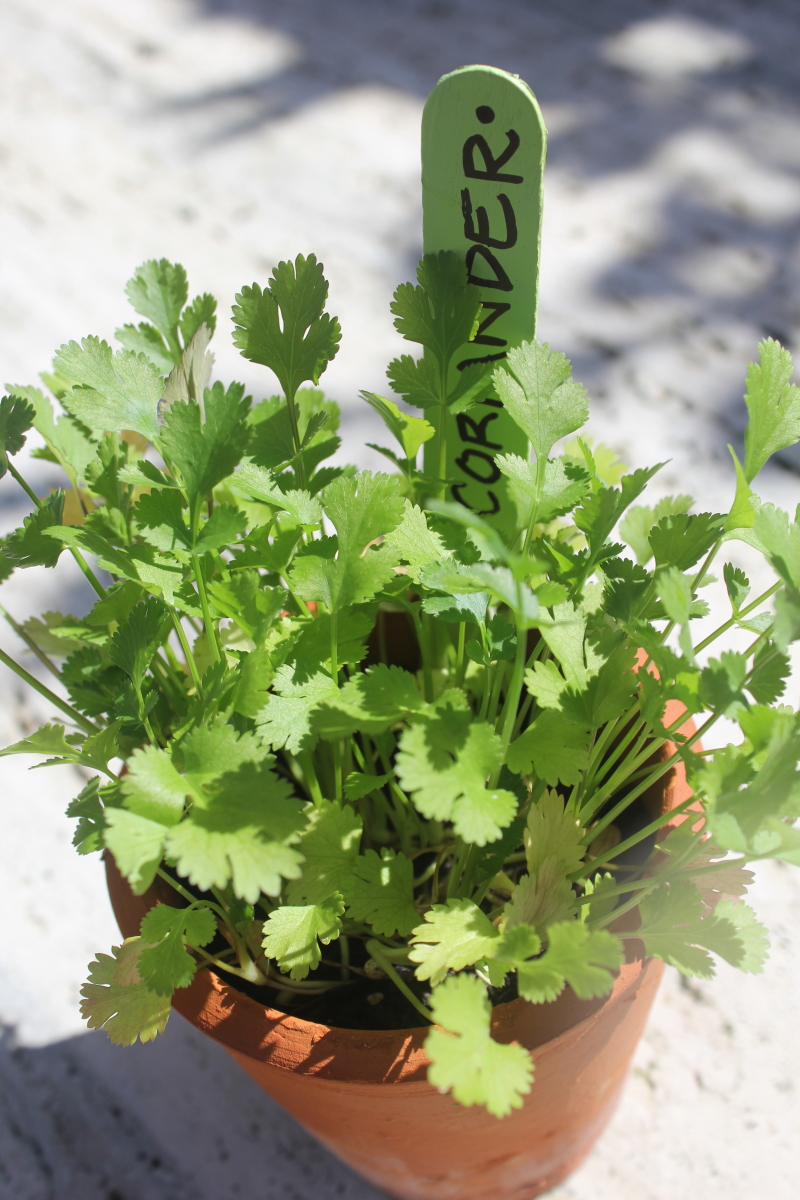
How to Grow Buxus (Box) and Make Box Topiaries

Share this post
Share

TO GROW

I have box (buxus) hedges and they “sucker”. I pull up these stray suckers and if they have a root attached I plant them out. These are generally successful.

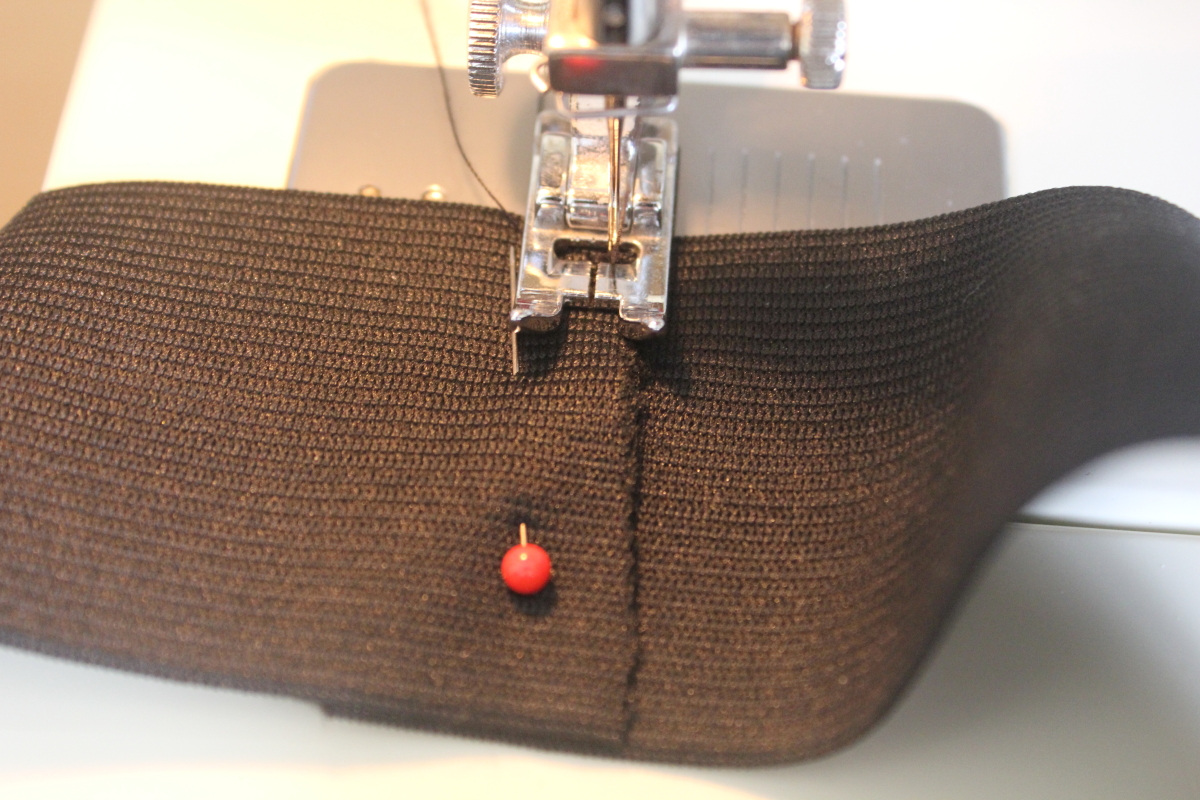
Another method is to take a cutting from an existing plant. The best time to grow semi-hardwood cuttings, like box, is late spring to summer, although I have had success in autumn, too.

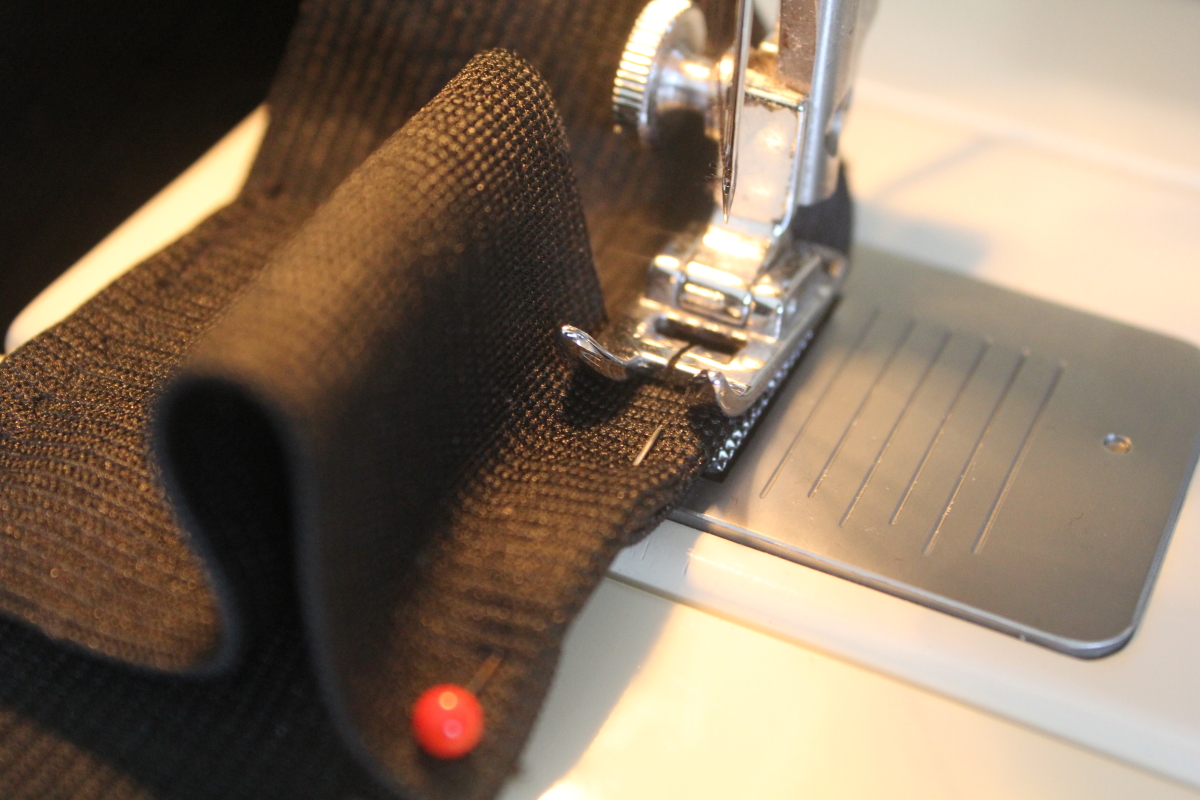
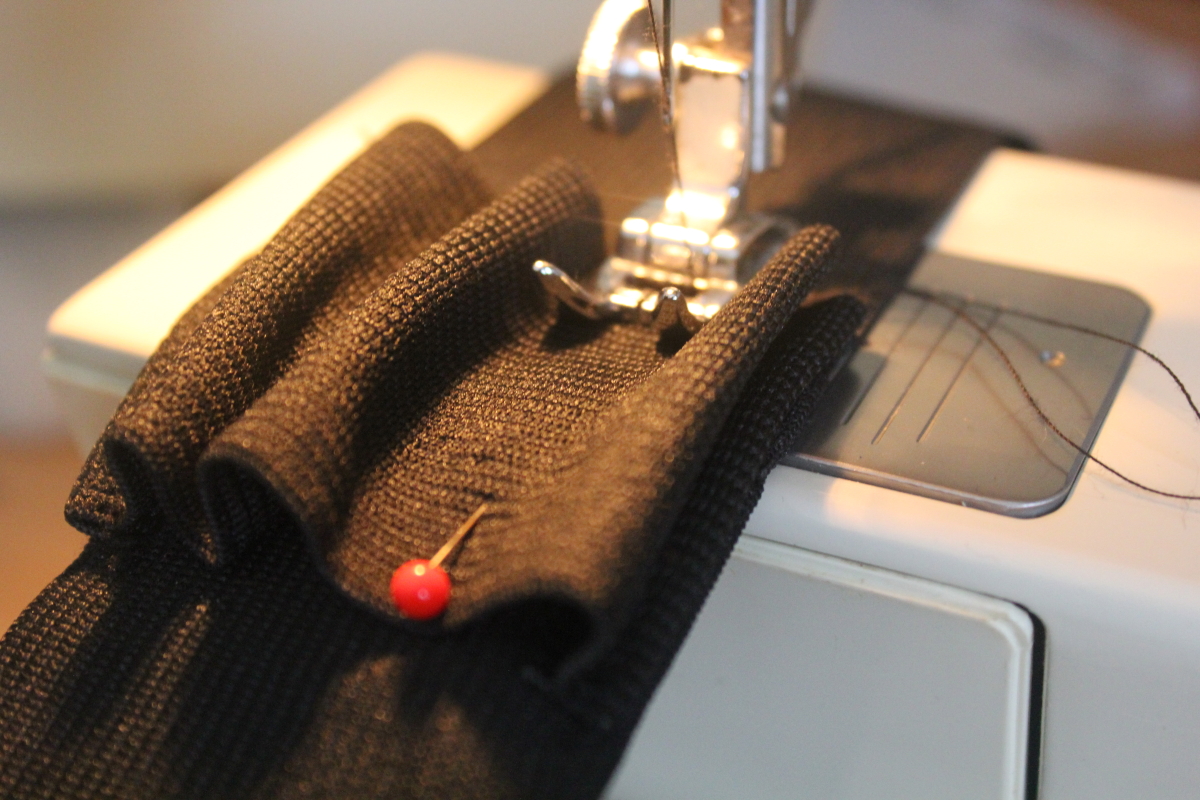
Take a cutting about 10cm/4 inches long and strip off all but a few leaves at the top. Keep the cutting moist in damp paper towel or newspaper if you’re not planting them straight away.

Push several stems into a pot of well drained potting mix and label them. Some gardeners recommend dipping the stem into rooting/hormone powder. Sometimes I do, sometimes I don’t and have good outcomes either way.

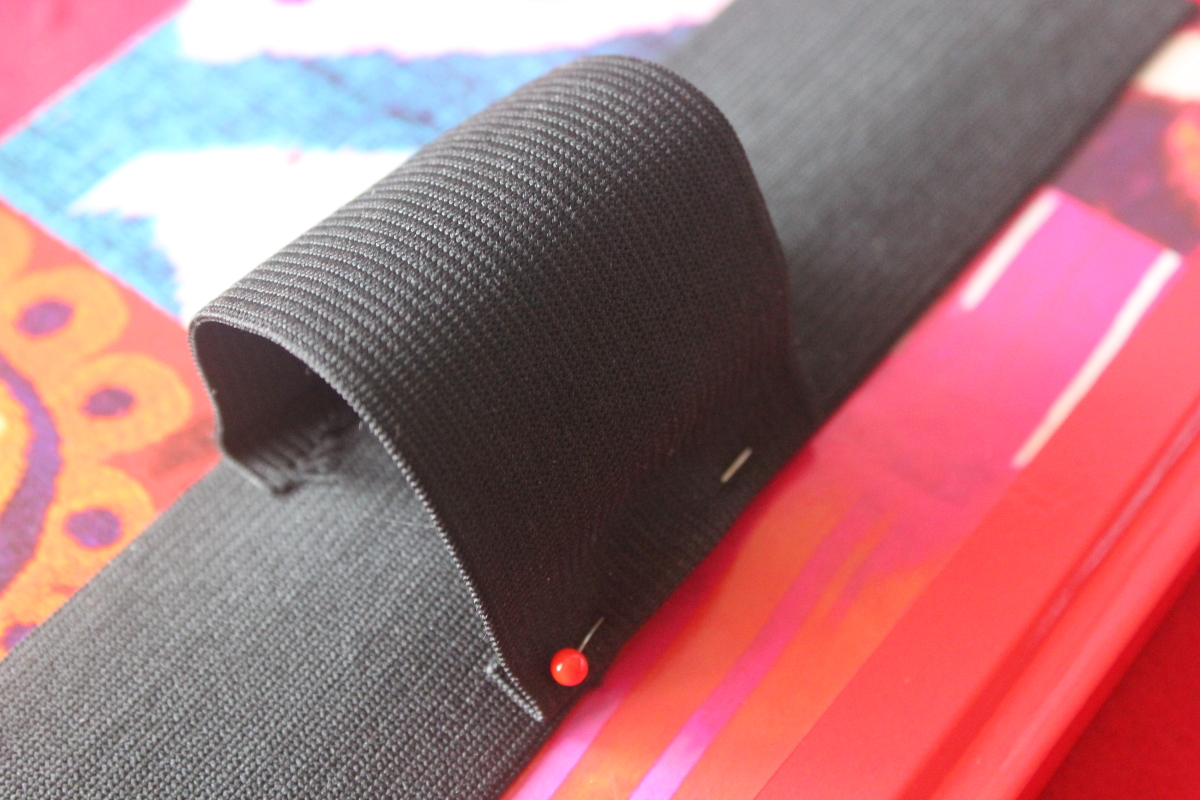
Cover the pot with a plastic bottle with the bottom cut off and the lid off to allow air circulation. This creates a mini-glasshouse. I only do this in autumn. Don’t let the pot dry out.

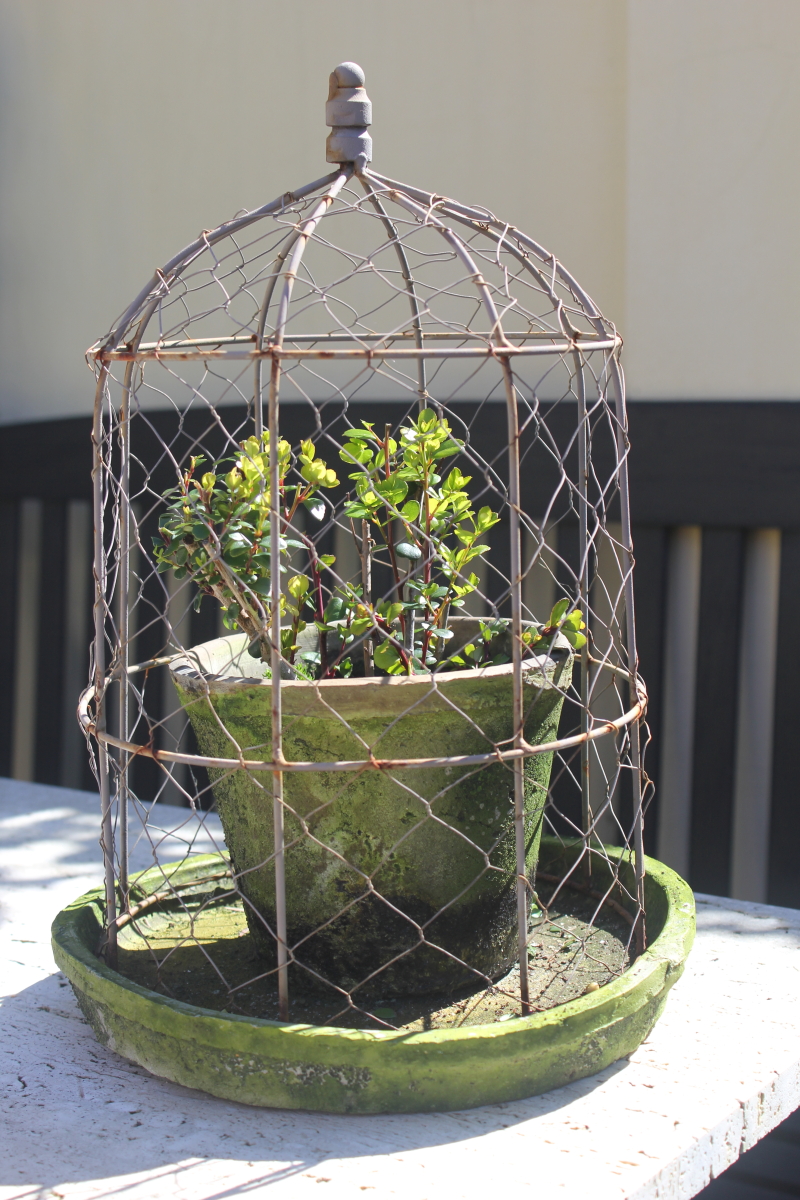
In about 10 weeks your plants should have grown roots and can be carefully transplanted. The plants in the pot above are three months old and have been very slightly trimmed and shaped.

TO TOPIARISE

To create ball topiaries, strip the leaves from the stem leaving the growth at the top. Begin shaping this using scissors or secateurs. Occasionally leaves will develop on the stem as they grow. Just pull them off.

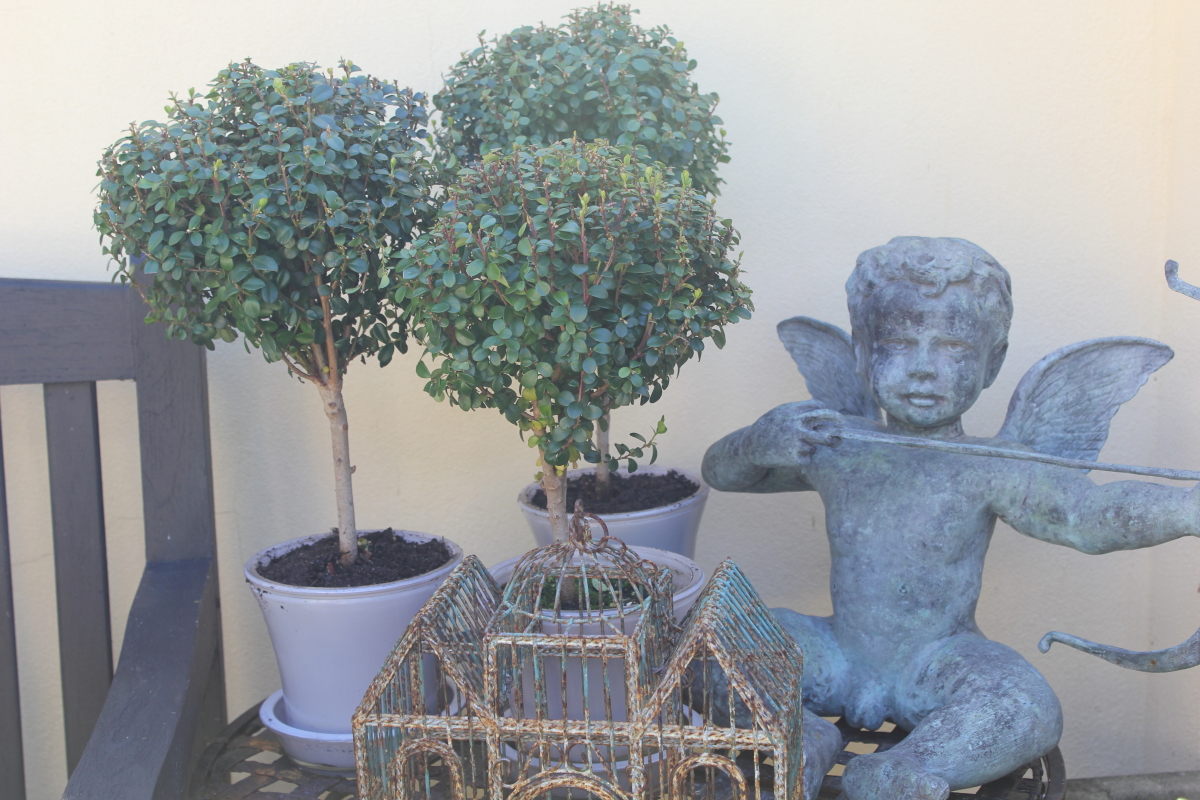
These topiary trees are about two years old and I keep them dense and round.

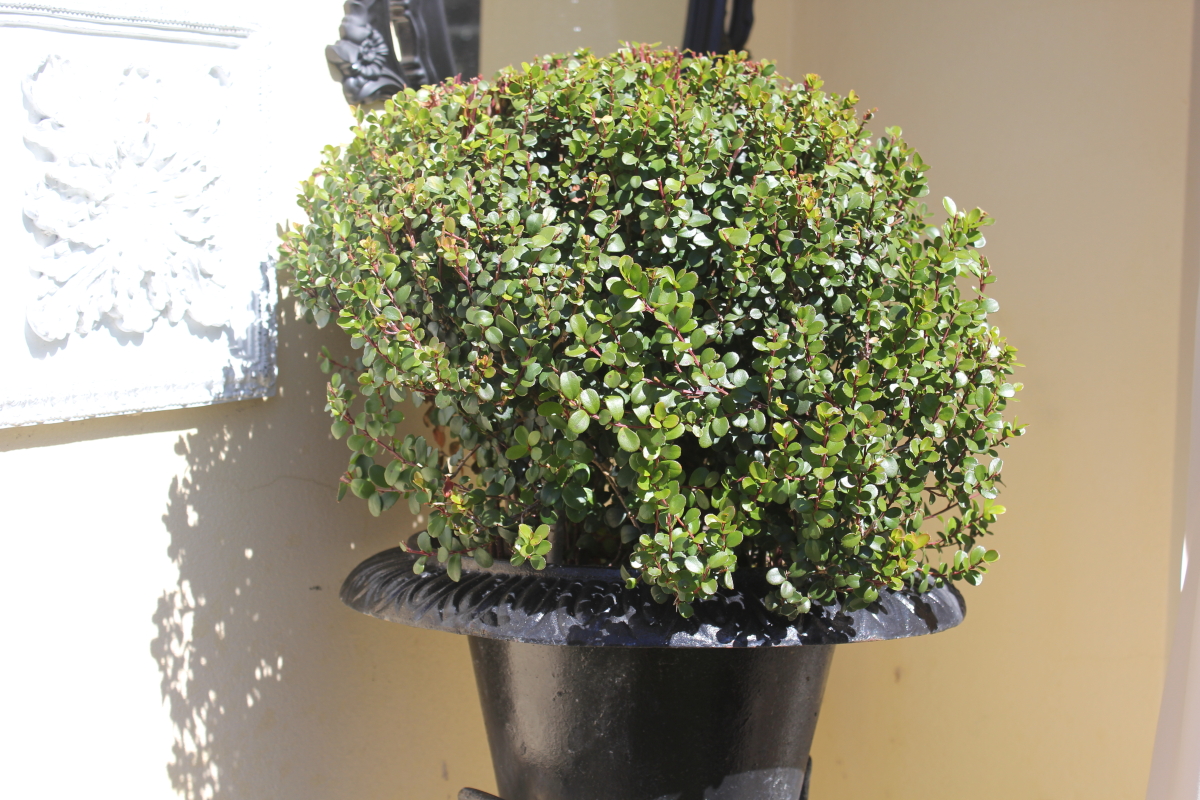
This dome is about three years old and started with four stems.

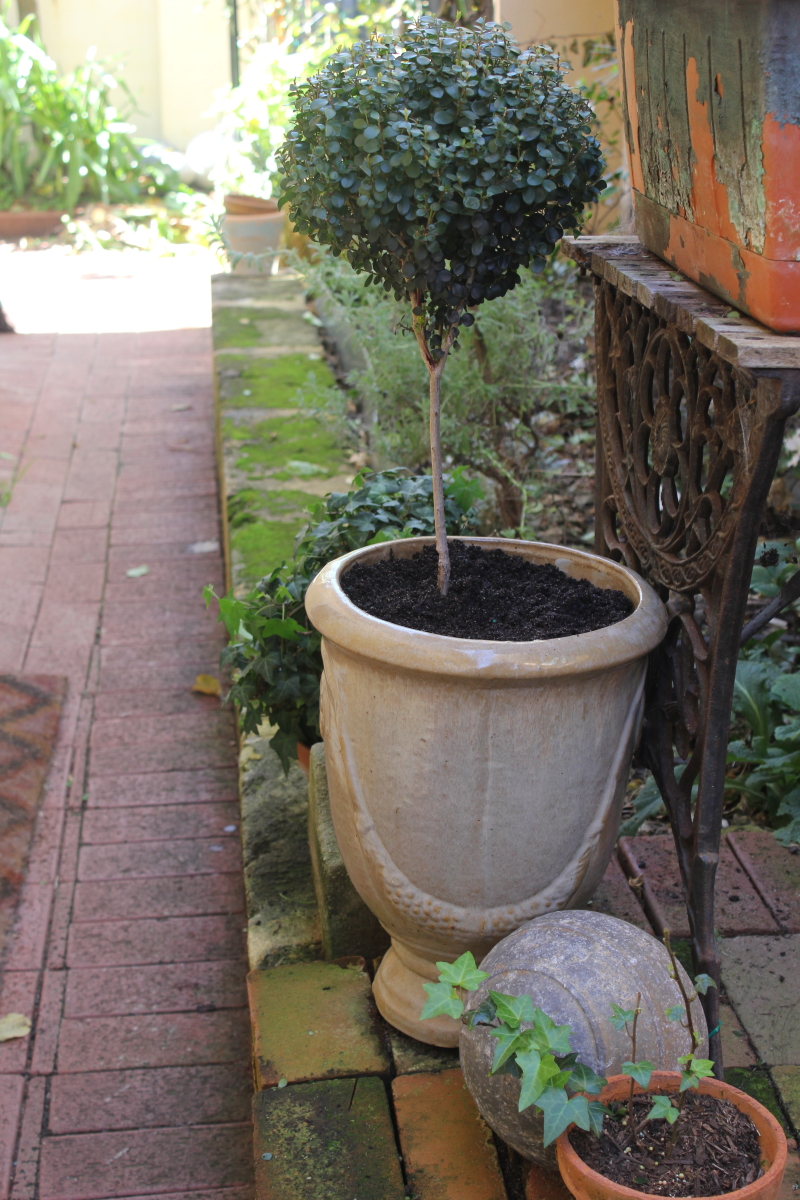
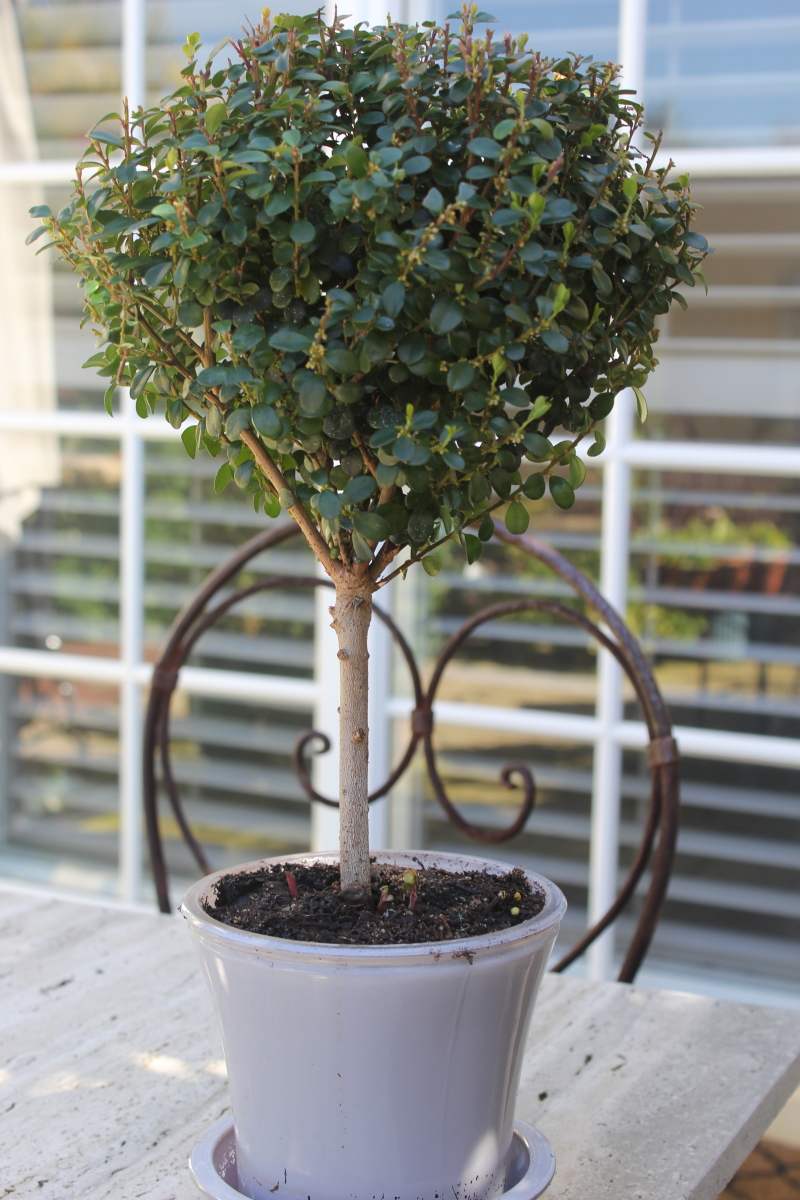
This topiary tree is nearly four years old. Box grows well in full sunlight or semi shade. Don’t let them dry out.

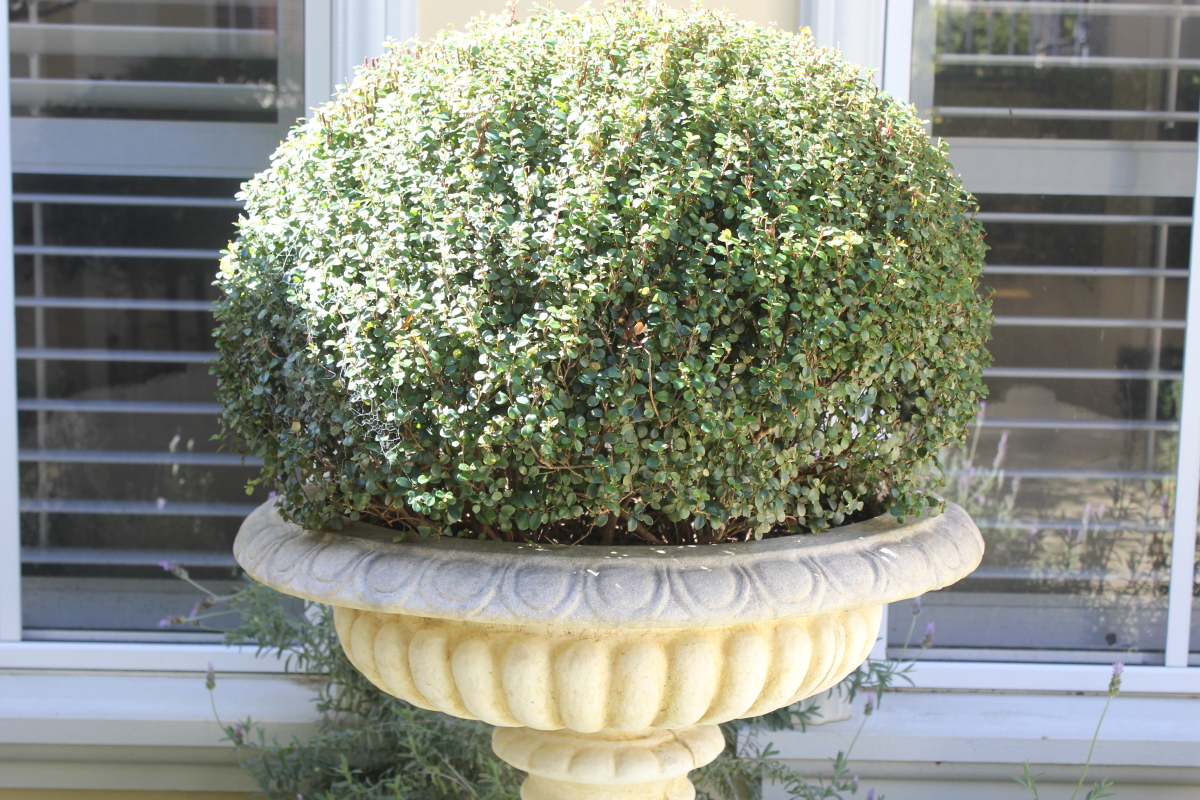
Another dome started with five stems. Begin shaping as soon as there is sufficient growth. If you want to make a square/cube topiary it is easiest to plant four stems, one in each corner of the pot as this will thicken up faster than one with fewer stems.

I use a slow release fertiliser. The container will tell you how often you need to apply it for best growth.

Saturday 26th August is Dog Day and honours the special bond between man and canine. Take time to appreciate the love and value dogs bring to our lives and do your bit for abused and homeless dogs where ever you are in the world.  Look at www.nationaldogday.com for more information and ways to celebrate.

Share this post
Share

Some Making, Some Cooking and Some Growing

Share this post
Share

Making.

Making Herb Pot Markers. I use wooden Tongue Depressors from the $2 Shop to make markers for herb pots. Using non-toxic paint, I colour most of the depressor as shown and when it’s dry I do the other side, making sure the edges are also painted. I use a waterproof marker to write the name on the stick ( I used a Sharpie) and  a non-toxic paint, in this case a sample pot, for any food growing pot. Also, when Louis, our dog was a puppy, he chewed most of the labels one afternoon so I was glad they were non-toxic.

I usually paint ten sticks at a time.

Most paints only require one coat so this is a quick and easy job.

Cooking.

Cold Weather Cooking. I make several trays of pasties and freeze most of them for work lunches or weekend lunches.

Lots of nice spinach at the moment, so I made an egg, sheeps’ fetta, onion and spinach slice. Tastes best when cold, if you can wait that long.

Quick Apple, Almond and Coconut Slice. Didn’t add the coconut and it was still very good. Below is Ginger Caramel Slice. Irresistible. The recipe for both these slices comes from www.taste.com.au

Growing.

The Sweetpeas have begun blooming.

They look pretty and smell gorgeous.

The first tulip is blooming but there are lots more about to come. This is Tulip Leen van Mark.

August 21st is World Fashion Day. Thinking about the amount of clothing in good condition that ends up in landfill, maybe it’s time to re-fashion something you already have?


t

Share this post
Share

Elastic Holder For My Journal

Share this post
Share

This is the final activity!  I showed you how I covered the journal, then I showed you how I marbled paper for the inside covers and now, I’ll show you how I make the elastic holder which slips over the front and holds necessary pens and for me, glasses. This band is so useful! Not only does it hold things but I can easily slide it off my full journal to put it on a new one. It is simply a strip of stitched up elastic. You need:

  • twice the height of the book you are covering of 5 cm/2″ elastic, plus 11cm/4.5″ extra elastic *
  • scissors
  • pins
  • sewing machine

* I only add a little bit extra overlap as the holder needs to be tight, so that when you sew it together the loop will be snug and firm around the journal.

Overlap and pin. Machine stitch.

Take the extra piece of elastic and working over the join in the elastic, fold the ends as illustrated, pin down and machine stitch.

Divide the piece into three even sections and pin down, then sew. I have sewn two channels between each section in the past but now I just use zigzag stitch and it works well.

I used to make one section wider than the others but three even sized sections are actually more useful.

The finished product. These covered journals make popular gifts, especially if covered in paper to match a pregnancy, a journey, even setting up a blog.

I use my journal every day and include a calendar in the back where I can mark times we’ll be away, when we have house guests and school terms for Western Australia.

Did you know yesterday was Play in the Sand Day? Here it would be Play in the Puddle Day as we’ve had more rain than we’ve had for years! The garden is happy, but the weeds are happier.

Share this post
Share

How To Marble With Water-based Inks

Share this post
Share

Marbling is a method of decorating paper by floating water-based inks on water, swirling the inks, pressing on the paper and removing it to dry. Traditionally oil based paints were used but I prefer prints which are easy to fold and glue, not rigid and thick like oil based prints.

I use marbled paper for the frontpiece and backpiece of my journals. I use Japanese water-based inks from an art supply shop and  printer paper. I used to use litho paper but prefer printer paper now.

Collect your materials:

  • water-based inks
  • a stirrer
  • rubber gloves
  • paper to fit your journal (I use sheets of A4 printer paper)
  • an appropriate sized sink/bowl of water

Drizzle inks onto the water and stir. I select colours to suit the paper used to cover the journal. You can created a darker pattern by increasing the intensity of the ink.

Smooth the paper over the ink making sure the paper surface is completely touching the water. Print two in similar colours for the front and back.

Remove and lay flat to dry. Usually I leave them outside where the prints dry very quickly but it’s raining today. This print looks streaky as it took a long time to photograph.

The paper needs trimming to fit the pages so I lay it out where it fits on the cover and the press the printed paper over the page edge creating a fold to show where to cut. You can see the fold to the right of the image.


Using the gluestick, put glue all over the surface to be covered and starting from the fold in the middle smooth down the marbled paper until it is flat and smooth. That’s the frontpiece done, now do the back!

Next week I’ll show you how to make the elastic holder which keeps everything I need on the journal, ready to go.

Today is Assistance Dog Day. There are many kinds of assistance  dogs: guide dogs, hearing alert dogs, seizure alert dogs and other medical alert dogs. Very clever dogs.

Share this post
Share
Share