

Every couple of days I make fresh bread and had no good way to store it. I wanted a breathable container which would look attractive on the kitchen bench and be easy to keep clean. I realized a drawstring bag would work well.
Wanting the bag to be 100% cotton I looked online as we have very few fabric shops in Perth but then I remembered a set of tea towels I’d been given as a gift. I washed the black waffle and the patterned black and white tea towels. So glad I did as they both shrank, particularly the black one. Next job, a label.
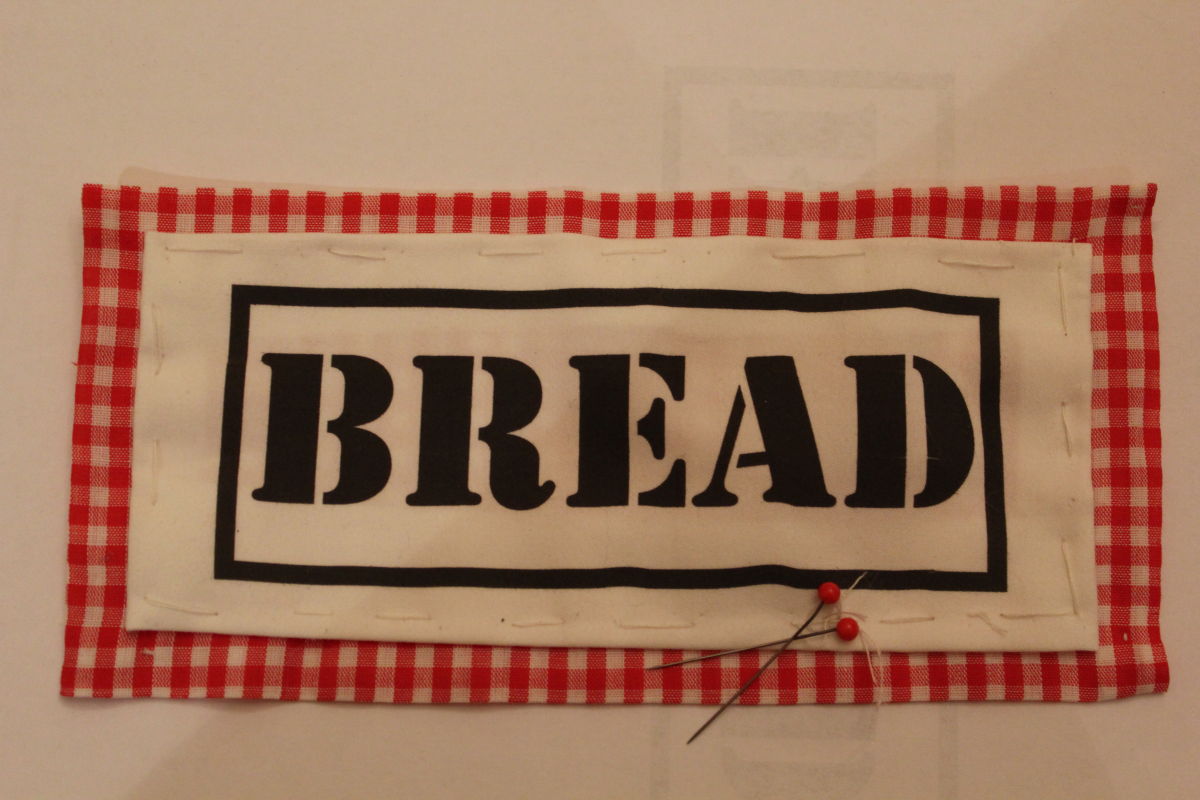
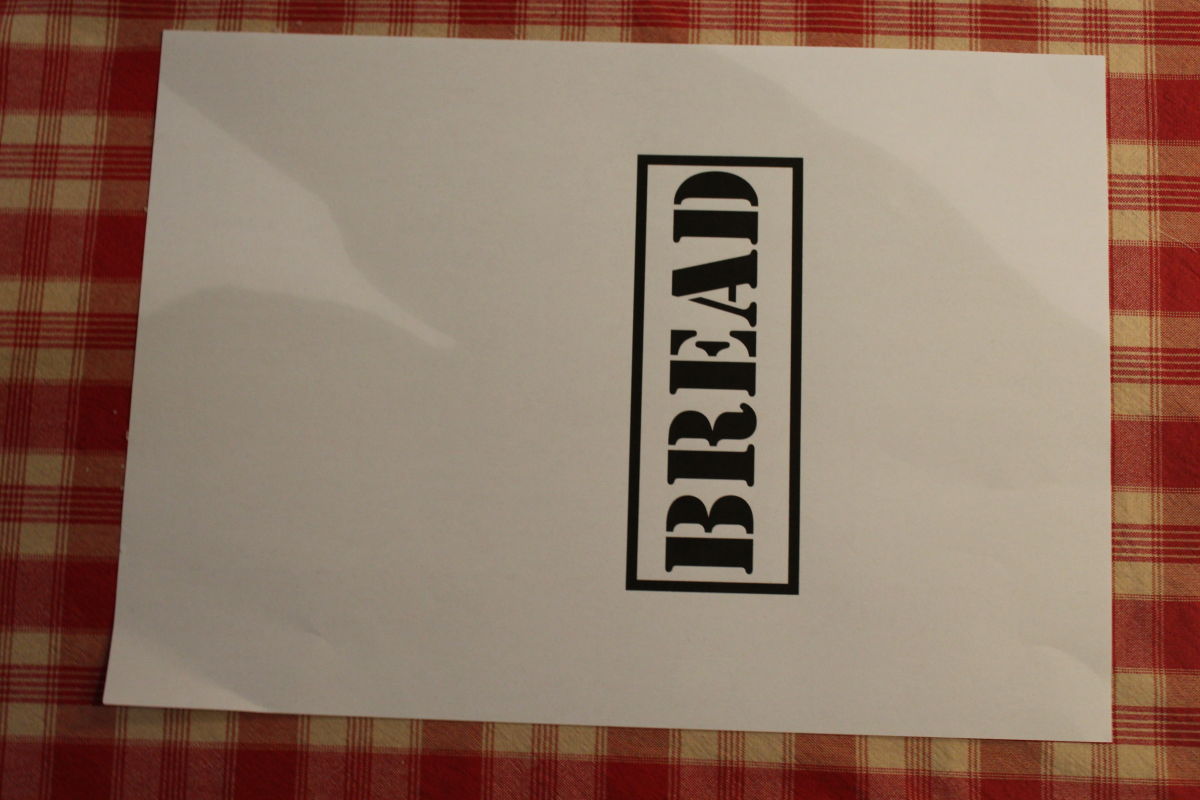
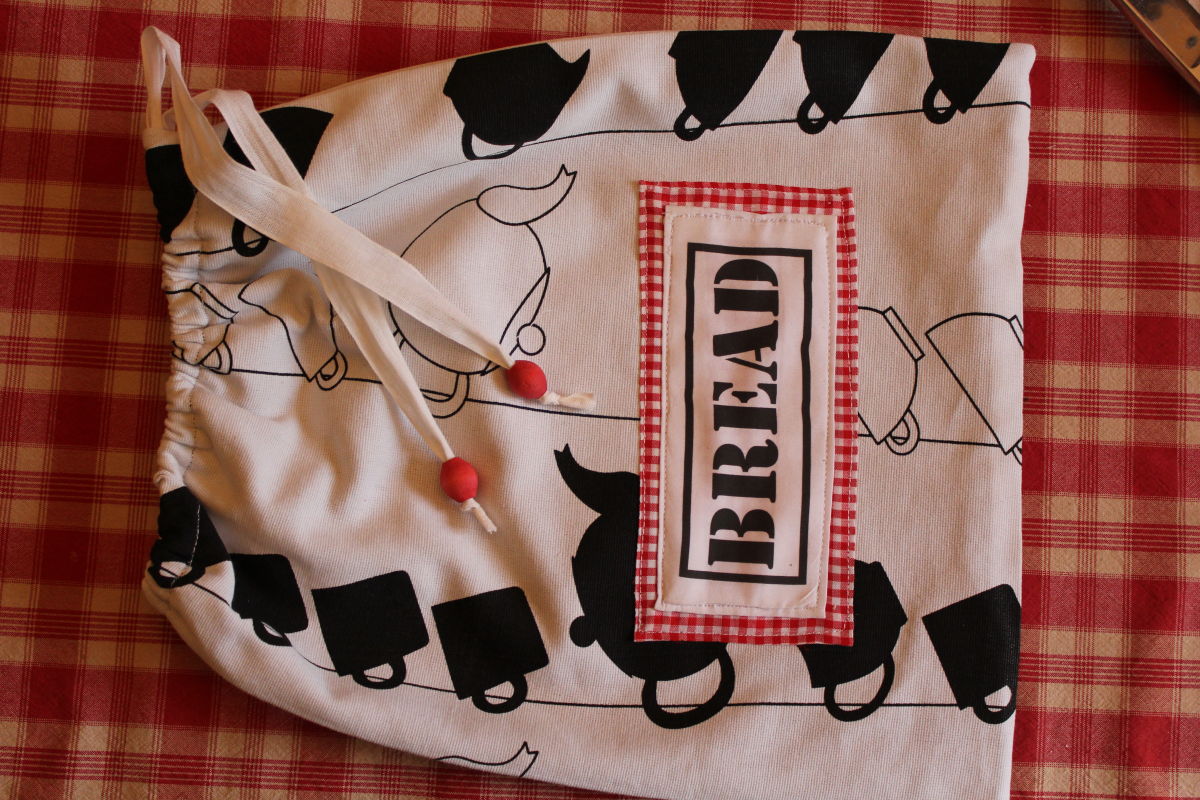
Printed the word BREAD on paper then carefully glued a blank sheet of A4 paper to a piece of white fabric and trimmed the fabric to be an exact fit and put it through the printer on the COPY setting. I ironed the inkjet print to set the image and trimmed the fabric to the size rectangle to suit the bag. Then I turned the edges under and tacked it onto a larger rectangle of red gingham, ironed the edges under and tacked that, too.
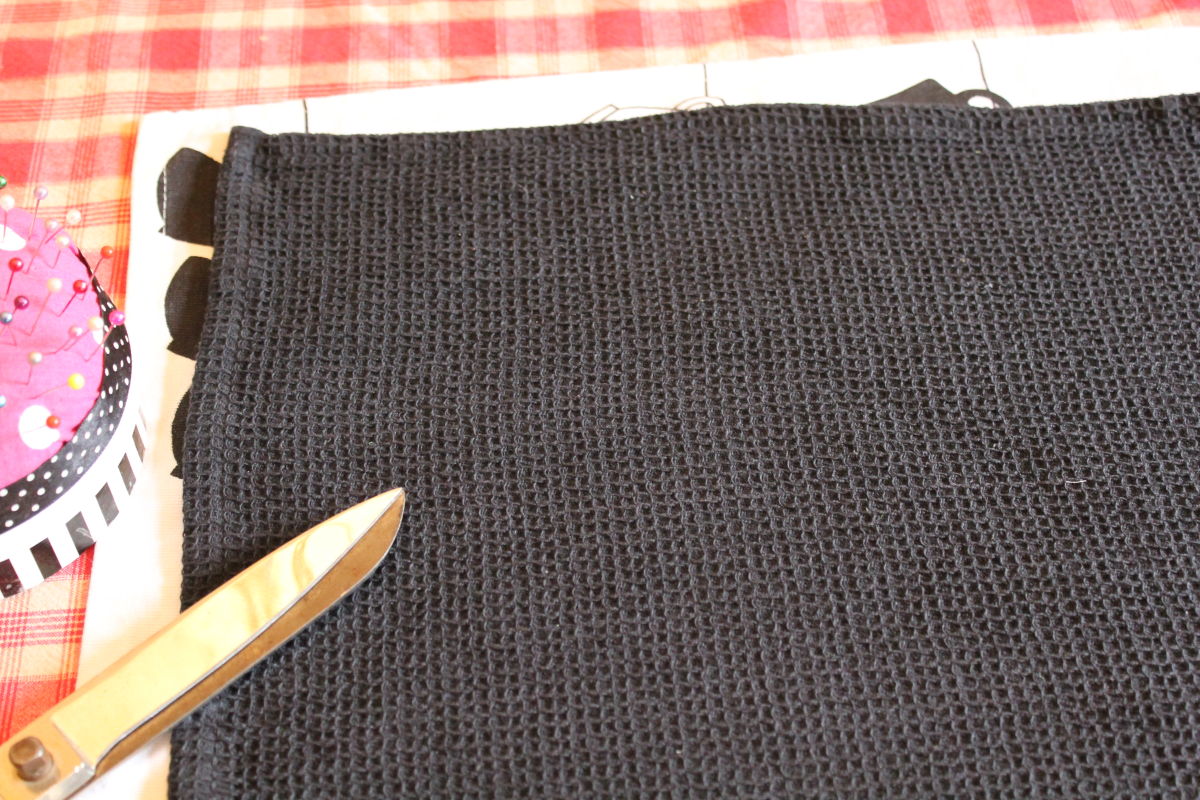
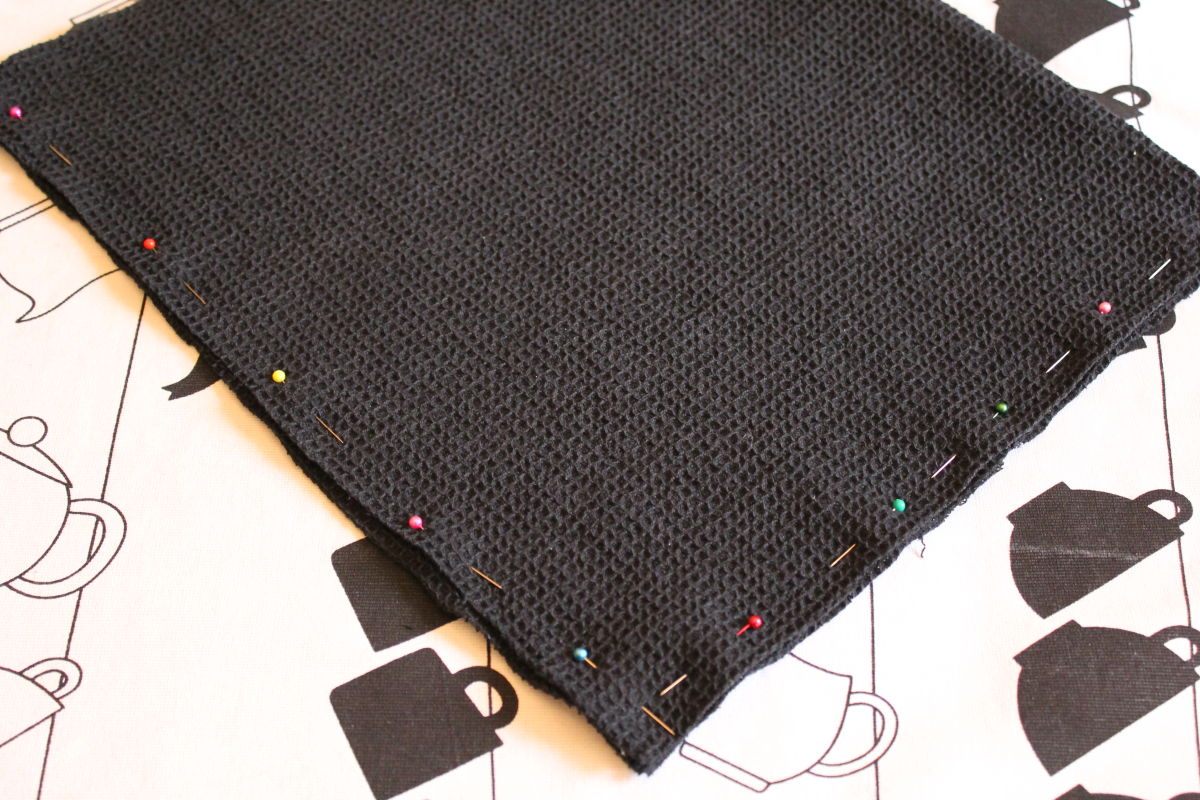
To make the bag I trimmed the hems off each tea towel, which determined the size of the drawstring bag. The black tea towel was noticeably smaller. I pinned, then sewed the bottom and side, leaving the top open. This is the liner for the bag.
This meant I could estimate the finished size and enabled me to pin and sew the BREAD label on the front.
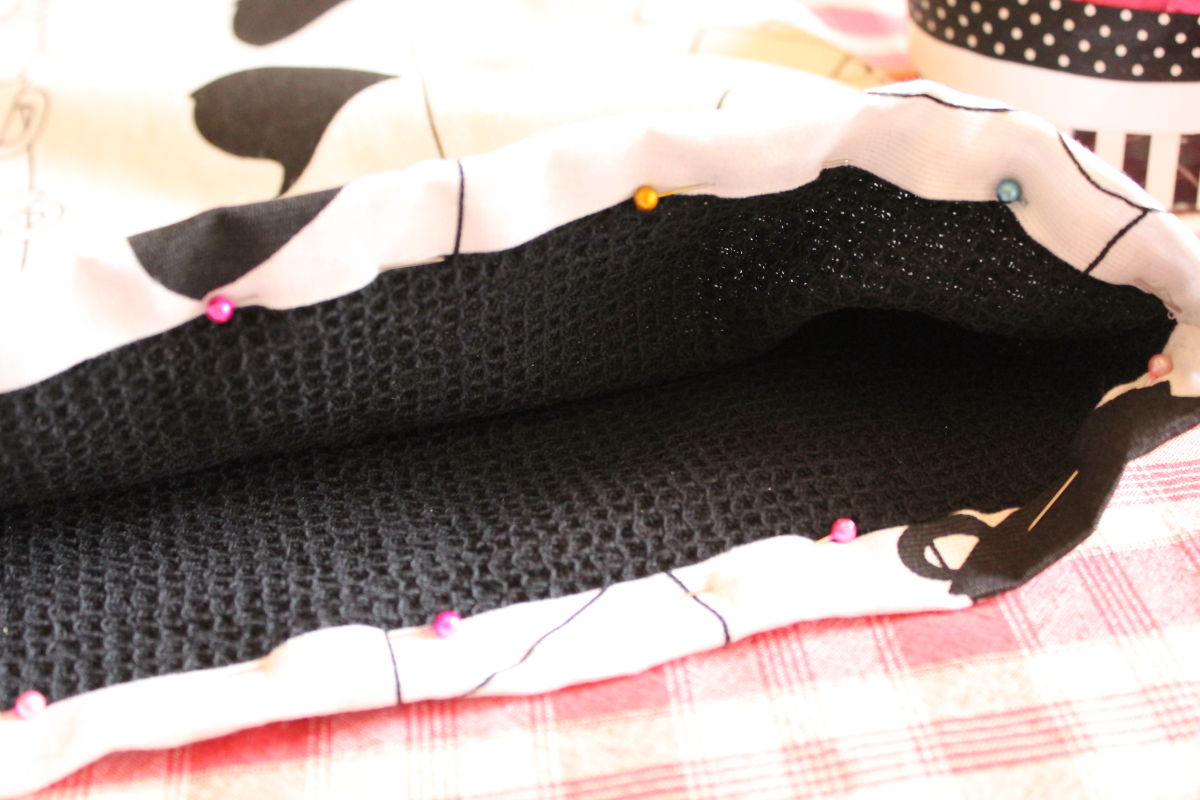
Next, I sewed the printed fabric slightly bigger than the black liner, leaving 5cm at the top to turn over to make the channel for the drawstring. I turned this the right side out and ironed it. Next, I inserted the liner and turned the patterned edge over the raw edge of the black waffle liner. Then I stitched the edges of the drawstring channel and finally, sewed the channel.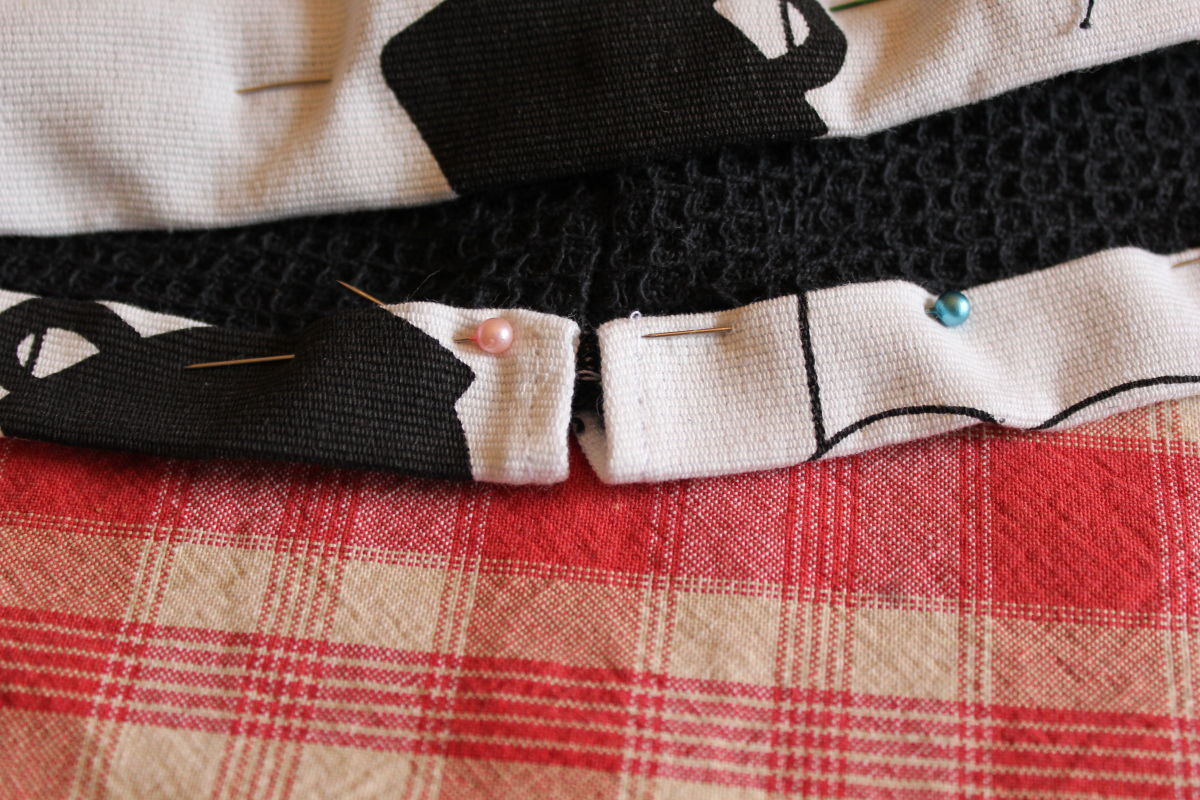
The sewn edges of the channel.
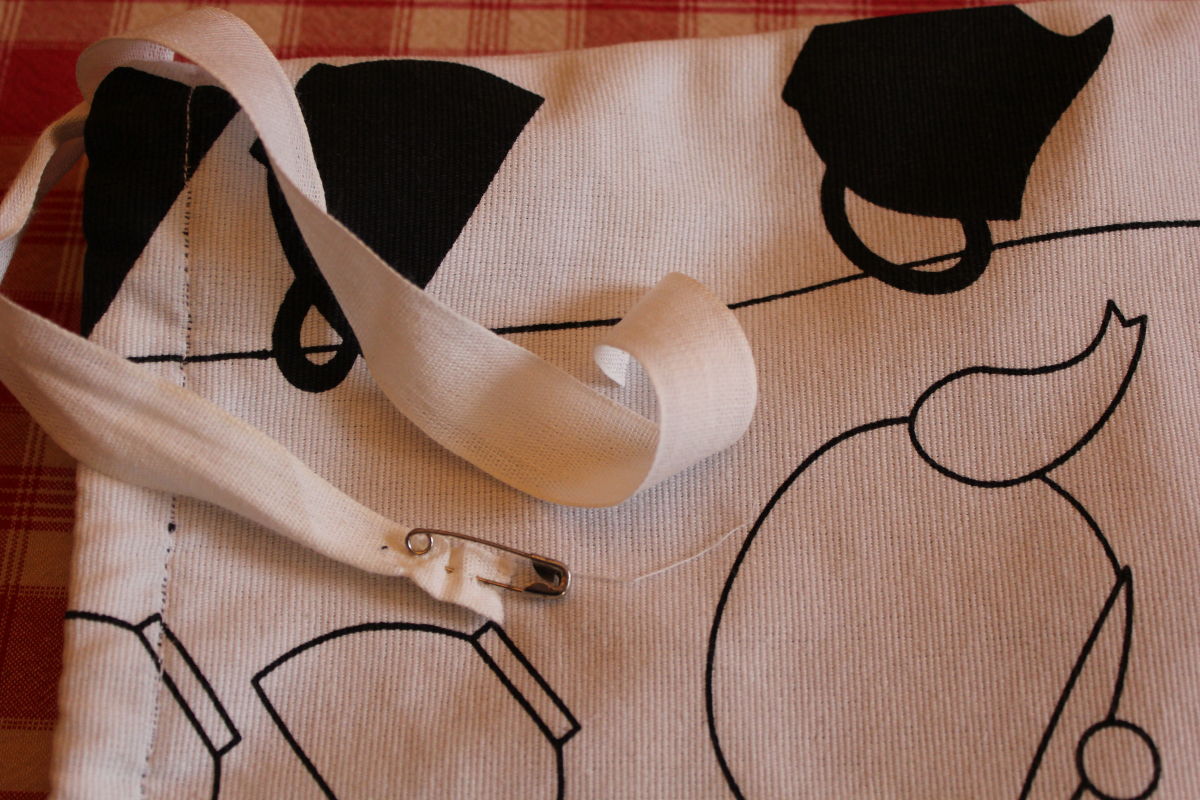
Attached a safety pin to the tape which I cut three times longer than one side of the top then fed the pin through the channel.
Fed each end of the tape through wooden beads then knotted the raw edge of the tape. Ironed the finished bag and put a fresh loaf of bread in it.
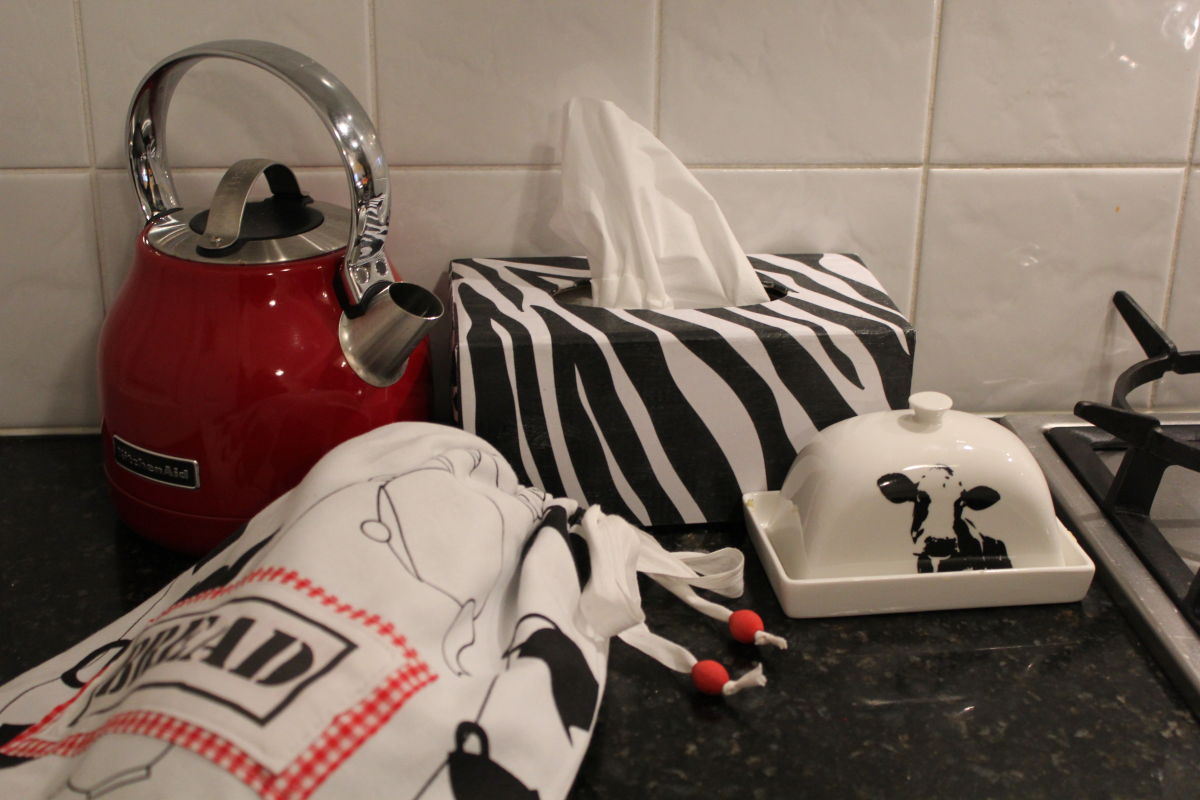
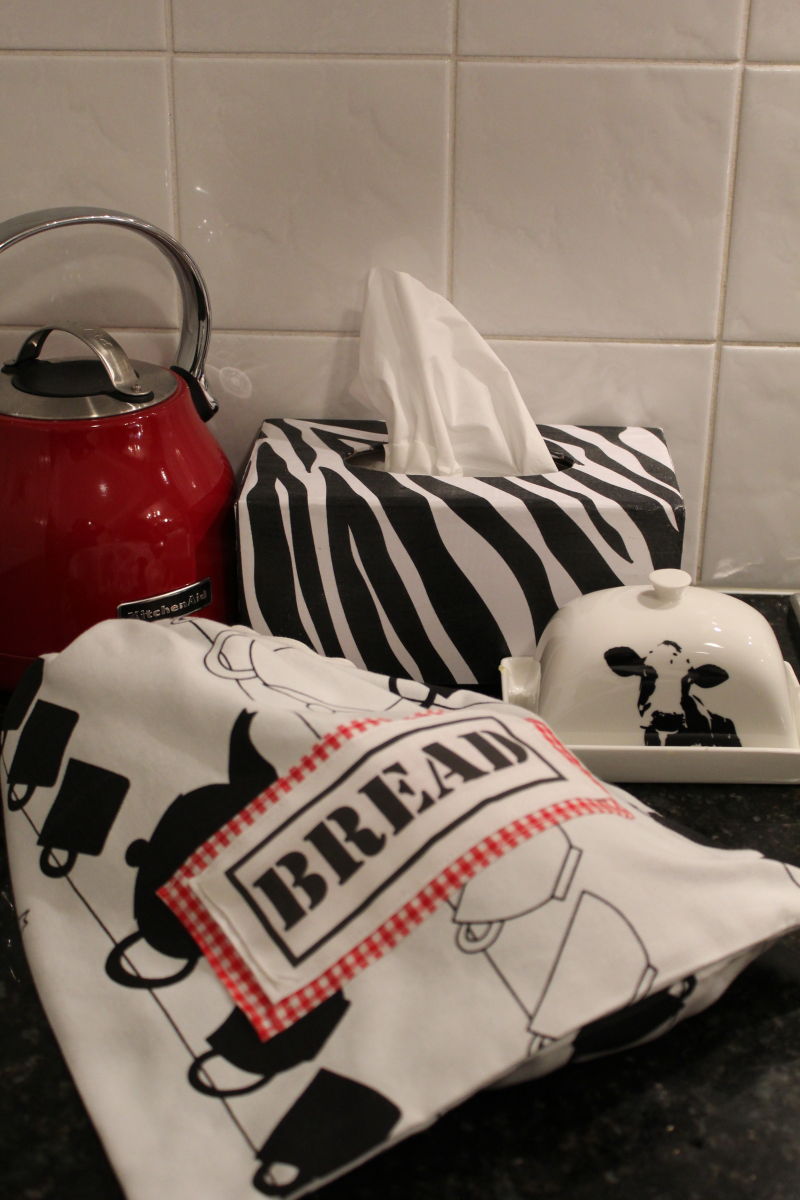
Looks good, works well and follows the red, black and white theme on the kitchen bench. Last week I blogged about making the tissue box cover, also in black and white.
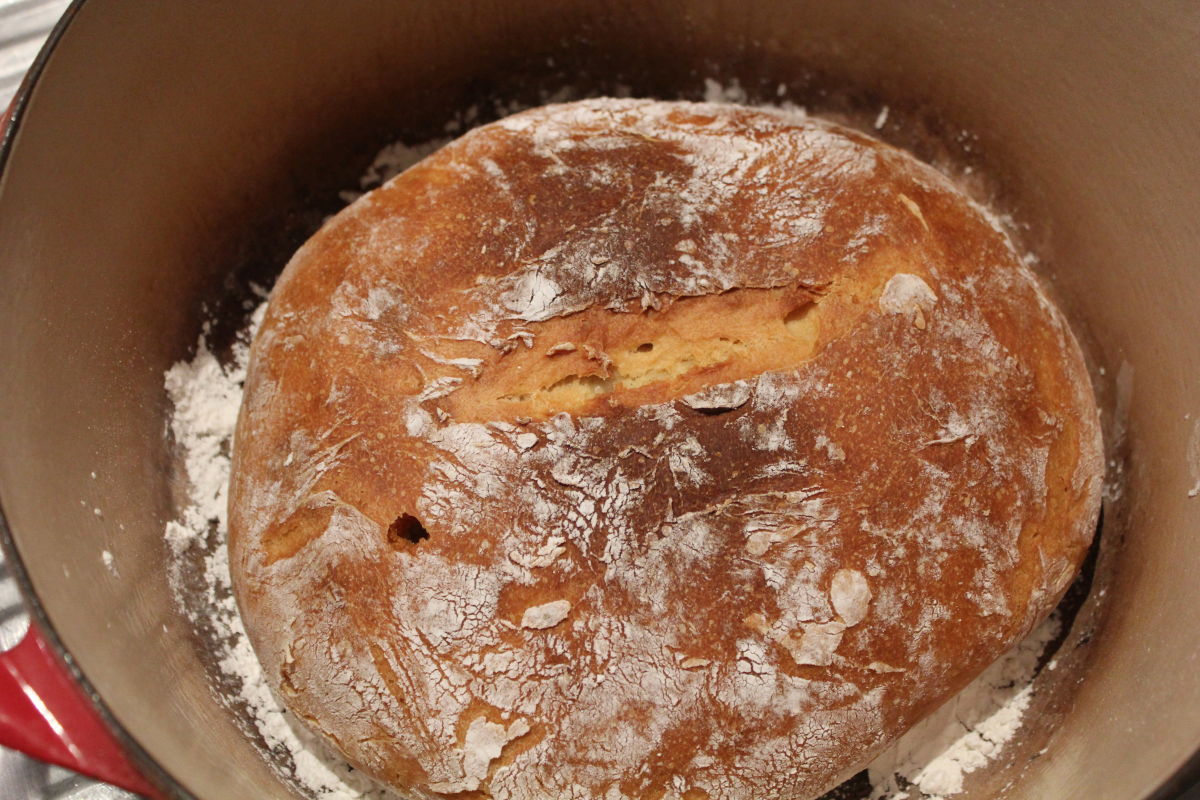
The sourdough fresh from the oven and about to go in the drawstring bread bag. I followed the recipe for sourdough from The Clever Carrot blog. It was cooked in a Dutch Oven. The strange hole on the left side of the loaf was made by using the thermometer to test the temperature to ensure it was properly cooked.
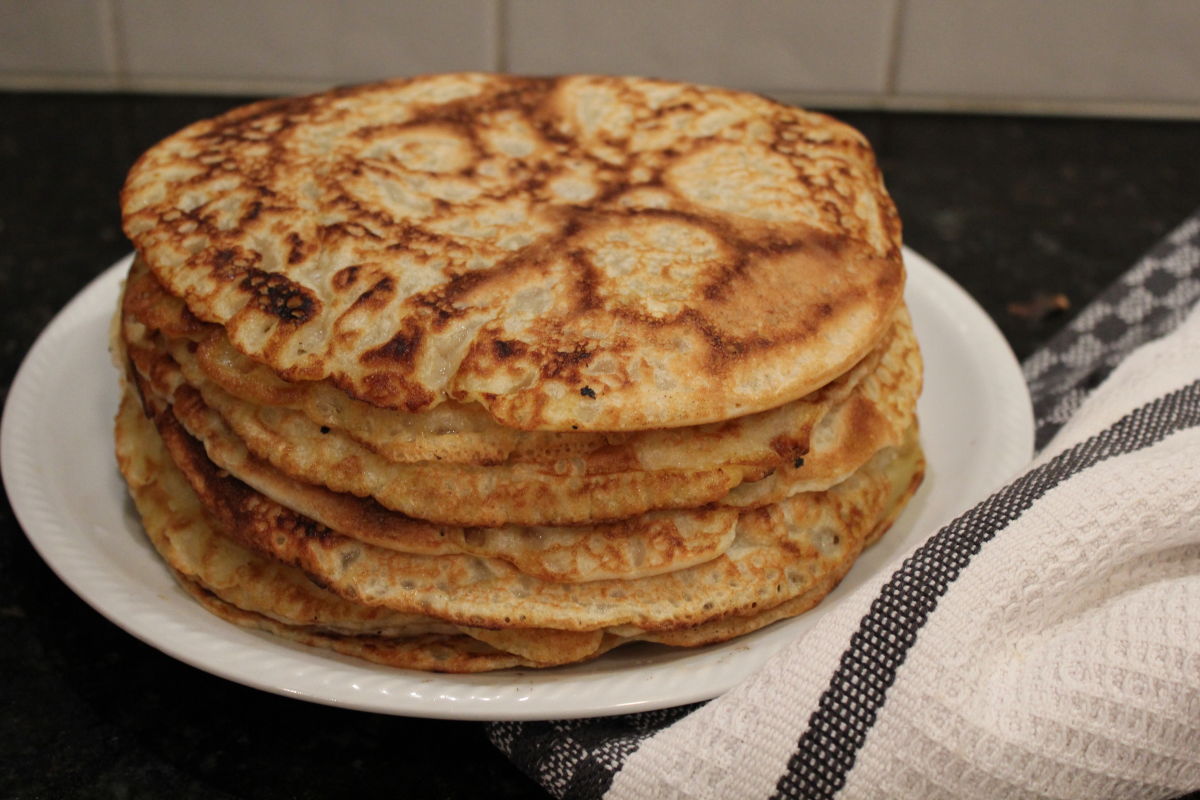
When I was feeding the “mother”, the starter for the sourdough, the directions advised to keep a cup and discard the rest. To avoid such waste, I added an egg and some more flour and water, let the batter rest and made a delicious pile of pancakes. They were very good.
Tomorrow is Fresh Veggie Day, so you can plant a winter crop or eat some fresh veggies, raw, steamed, boiled or roasted. Enjoy!
Fantastic blog you have here but I was curious about if you knew of any discussion boards that cover the same topics talked about in this article? I’d really love to be a part of group where I can get comments from other knowledgeable people that share the same interest. If you have any recommendations, please let me know. Kudos!
Hello!
Lovely to hear from you and I’m glad you enjoyed the blog.
I don’t know of any discussion boards about these topics but I’m sure they’re out there.
Thank you for your kind comments,
Deborah