

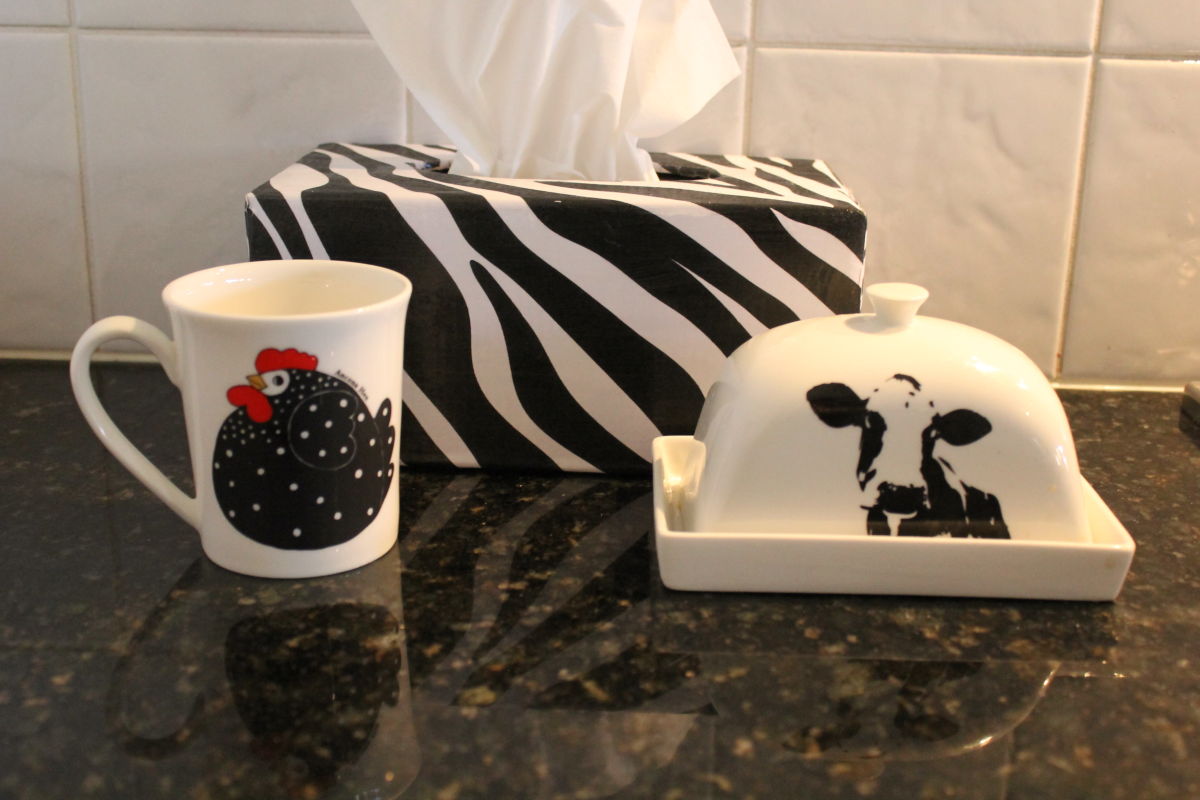
My husband insists on handkerchiefs, has an enormous collection and uses one every day. I prefer tissues. I mostly use them in the bathroom but have a box of them in the kitchen, too. I’ve finally found a brand of economical tissues I like as they are soft and strong, but the box they’re packed in is not attractive. Actually, the boxes are ugly.
The tissue box in the kitchen needed a cover to fit in with the other things on the bench which are mostly black and white with a dash of red, the new kettle.
YOU NEED
- a deconstructed tissue box
- a sheet of strong cardboard. ( I cut up a box.)
- scissors
- a trimmer
- a ruler
- glue stick for covering and a contact adhesive for joining the sides
- a sheet of gift wrap or 2 sheets of printed A3 paper or whatever you want to cover the box
- brown paper to line the box (optional)
- gel medium ( I used Modge Podge) and a brush
Went to the craft shop to buy a compressed wood tissue box to cover and discovered they’re now made of cardboard. I had lots of cardboard at home and decided to make my own box.
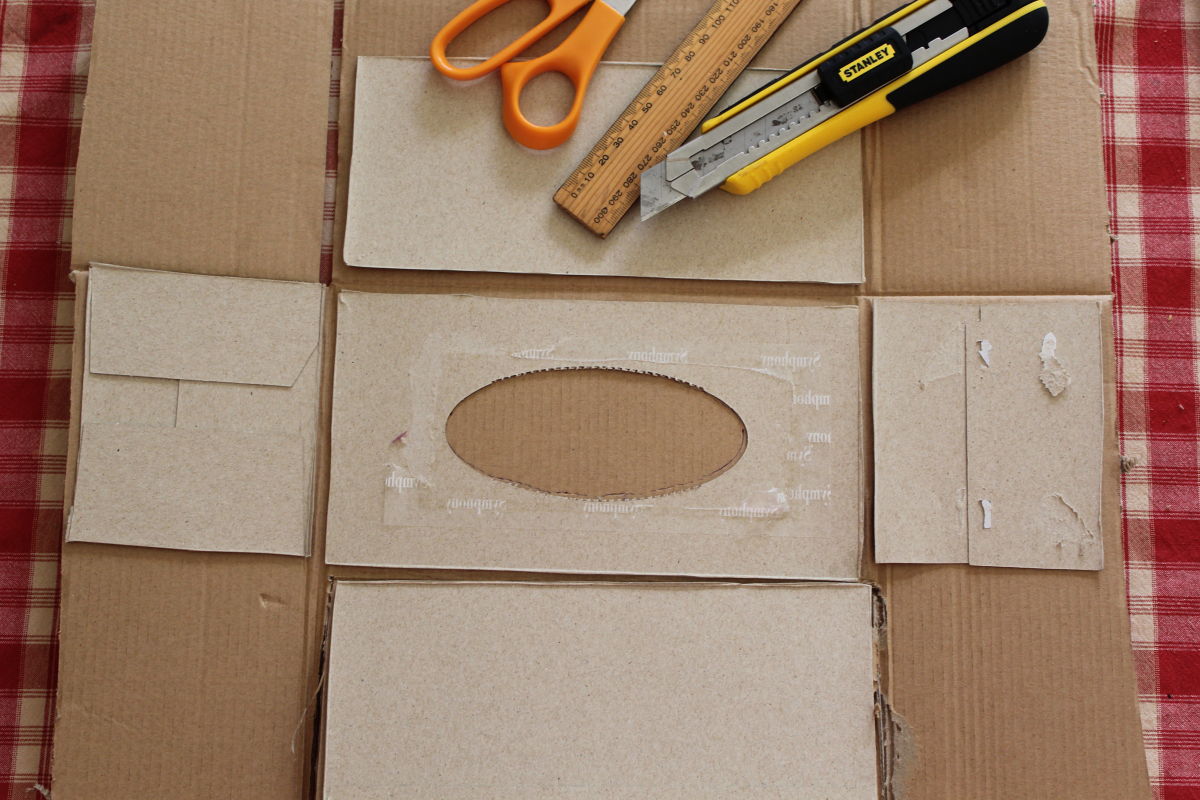
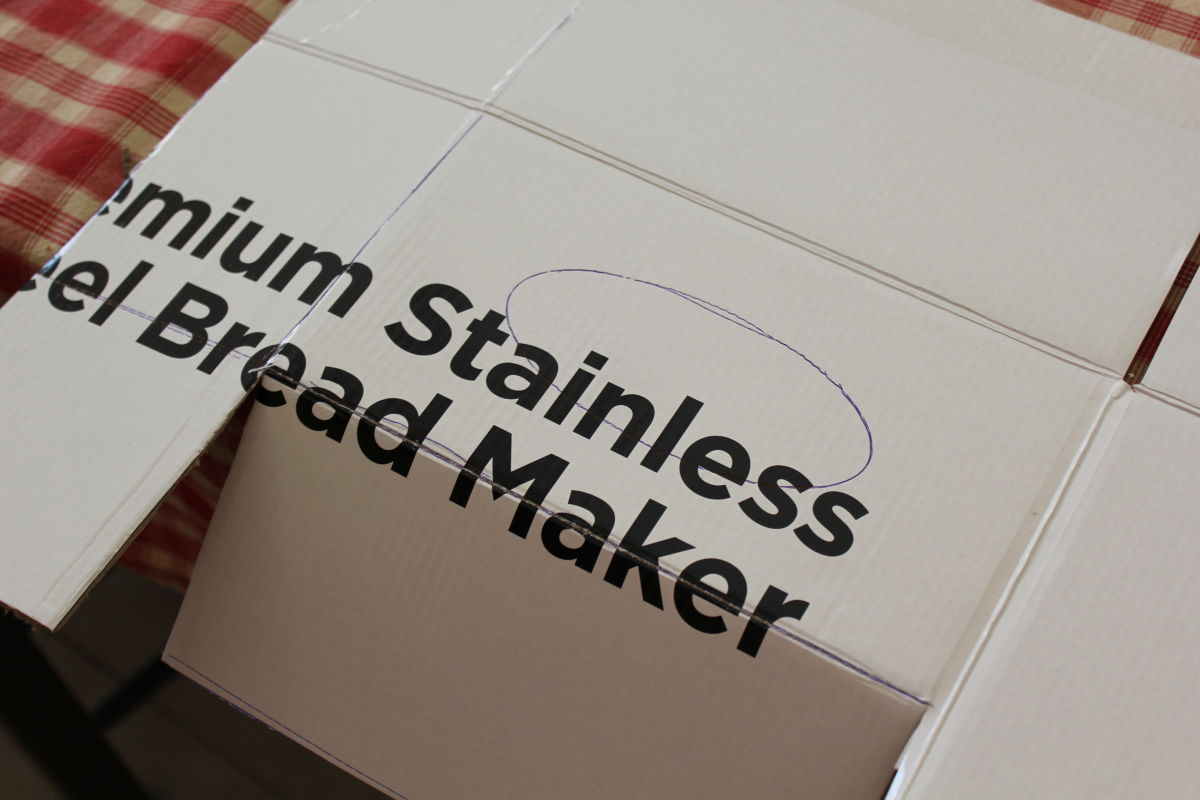
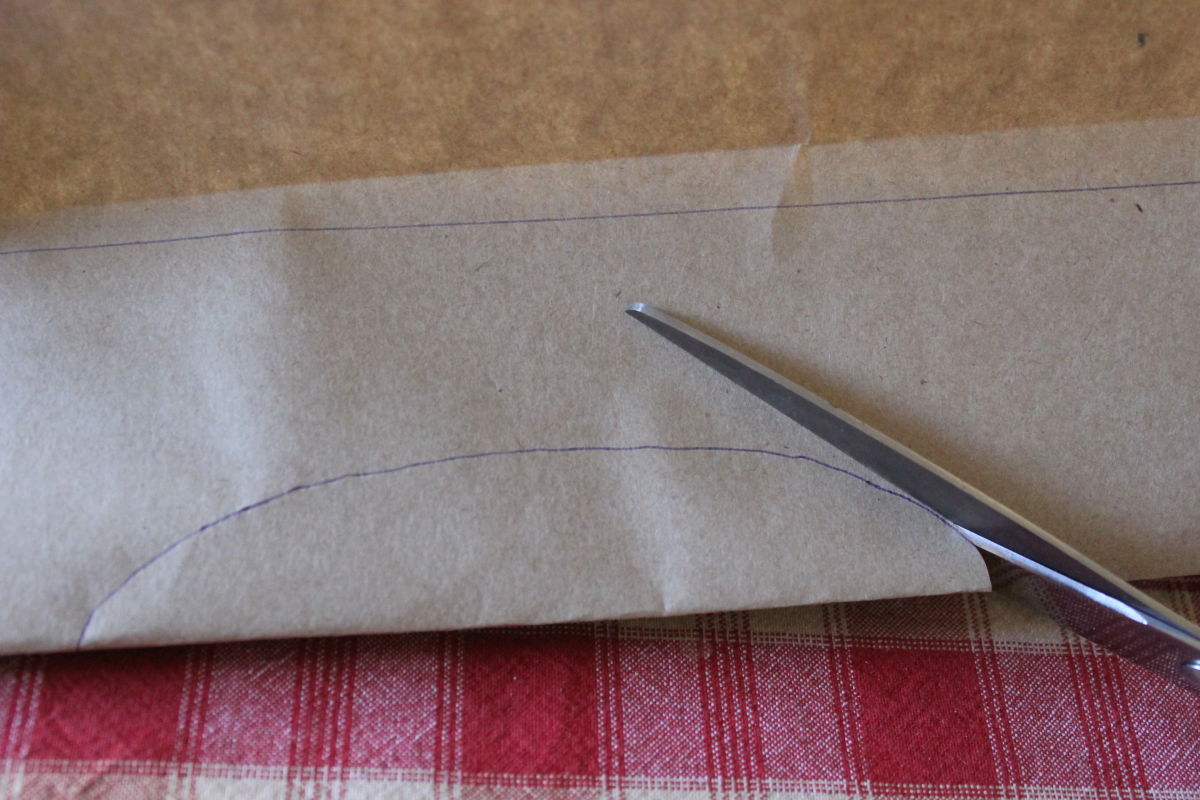
I deconstructed an empty tissue box, laid the pieces on the cardboard then marked out the shape using a pen and ruler, adding 15mm to all the pieces so the cover slips on and off easily.
Cut and bend the fold lines along the edge of a table and press with a boning tool or press with your scissor handles.
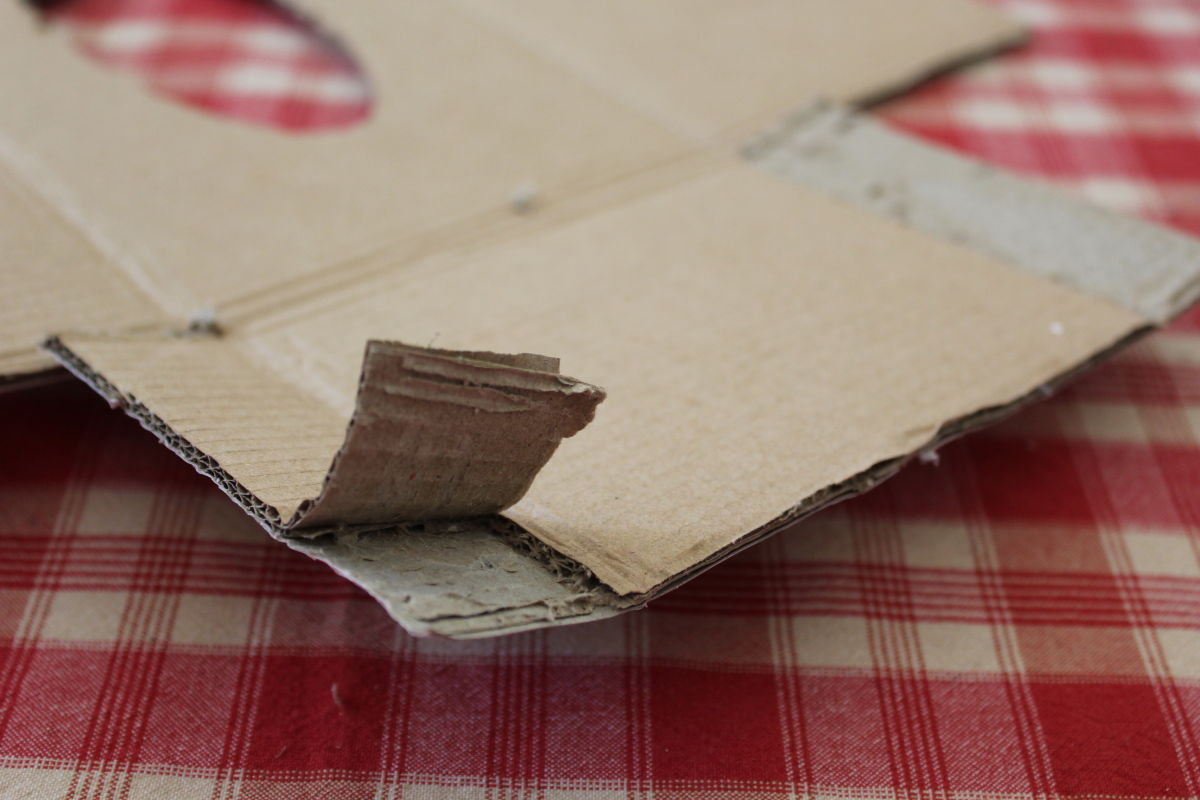
Using the trimmer, I cut into the top layer and core of the cardboard on the side folds to make them thinner so they’d sit flatter. I needed to almost scrape off the layers.
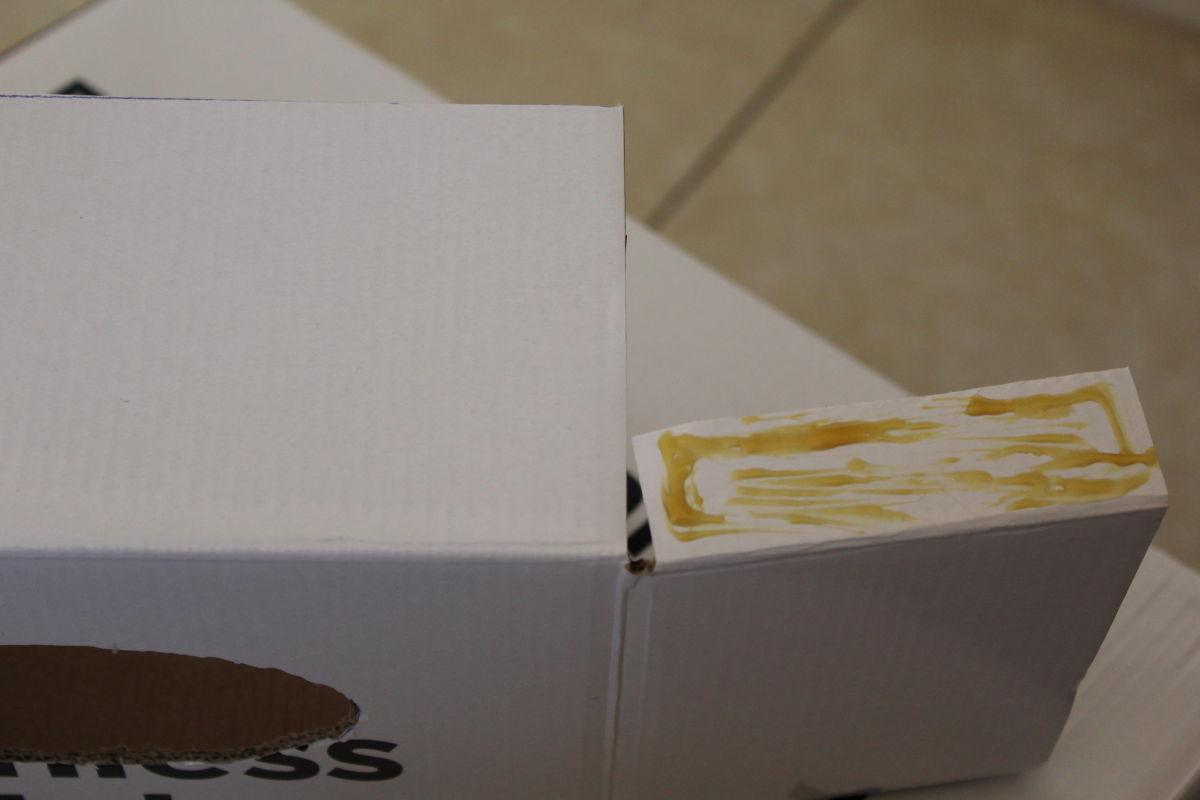
Contact glue to hold the joined edges. These glues are usually stinky, but dry quickly and hold well.
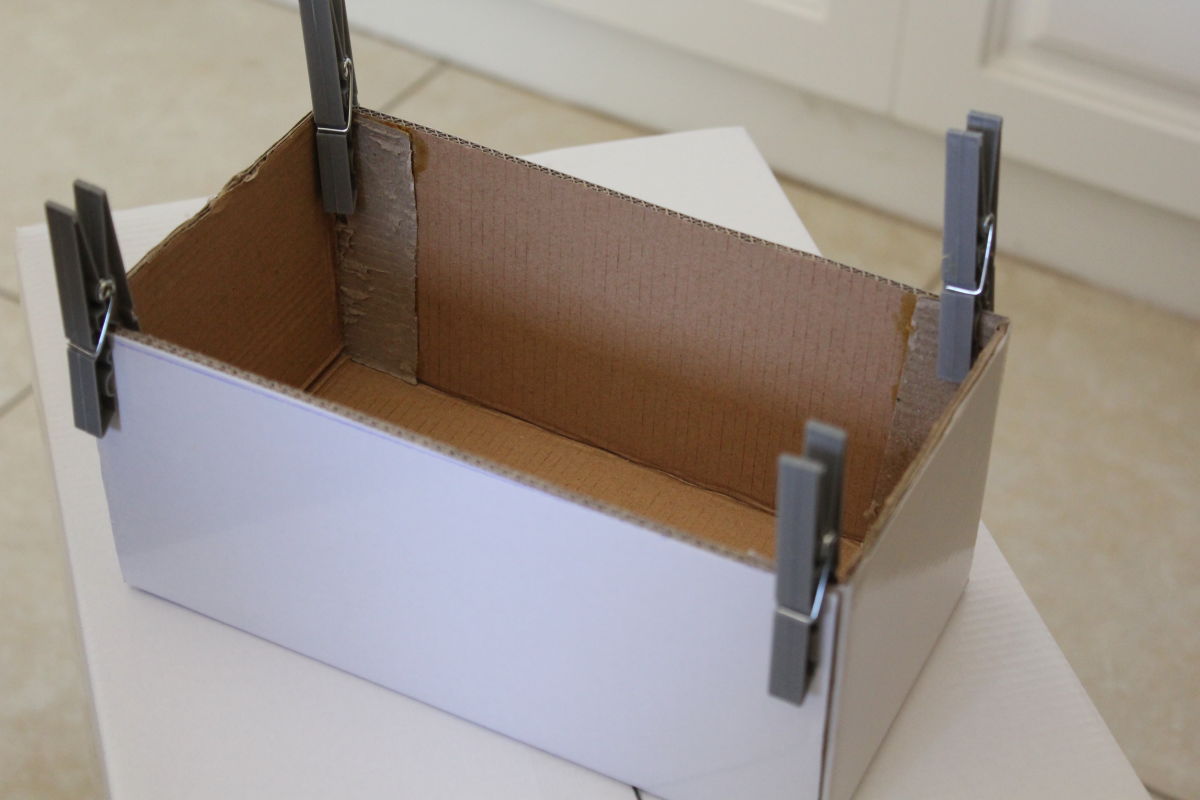
The handiest craft tools – pegs! I find them so useful. Here they hold the glued sides in place until they’re set.
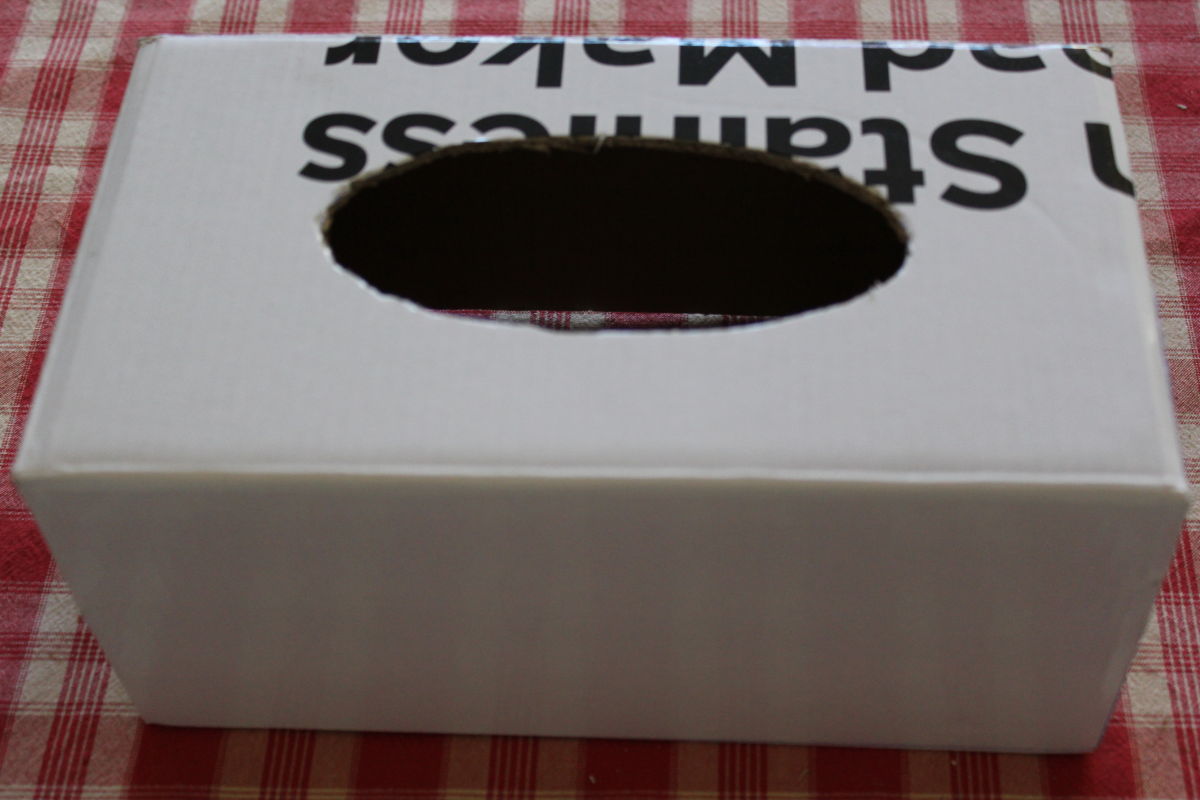
Check the box sits flat and trim if necessary then carefully use a craft knife to cut out the oval traced from the original box.
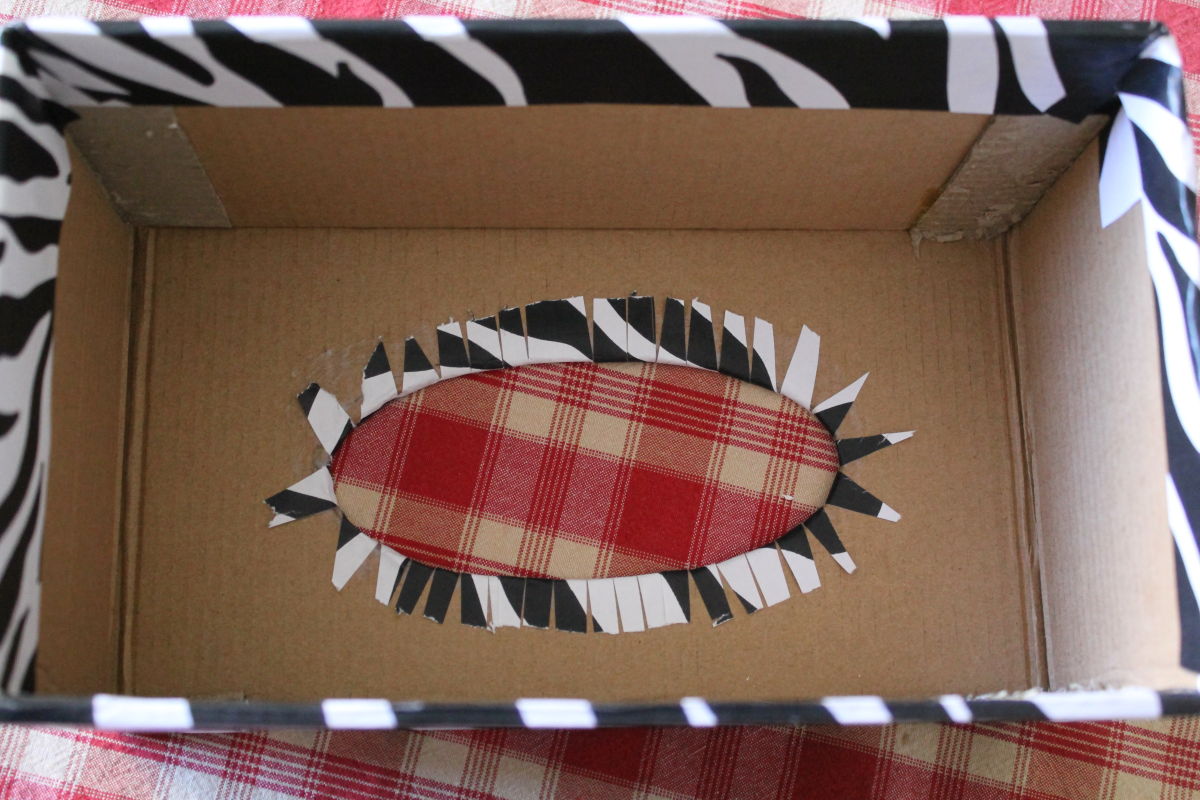
Begin covering the box on one side and continue the paper into the inside. Make sure you glue the entire panel you’re covering before you press on the paper so it sticks smoothly. Rub any bubbles to flatten them.
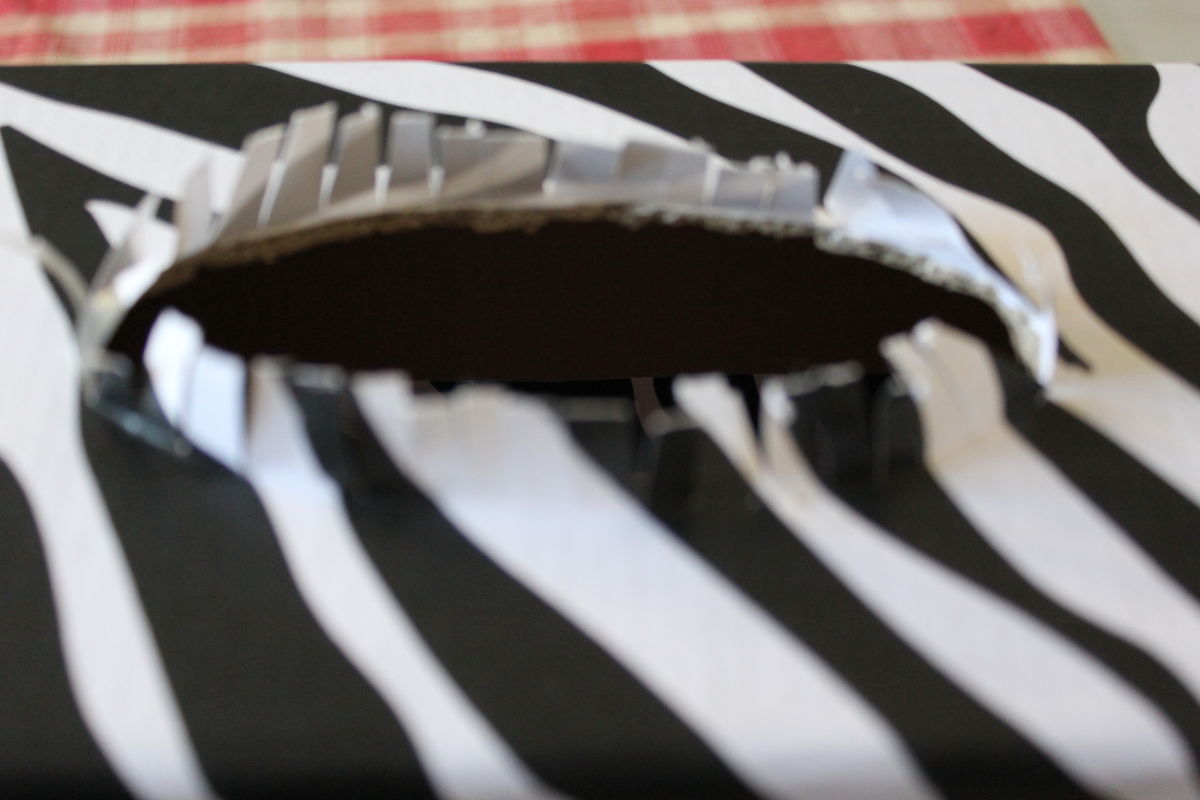
Snip repeatedly around the oval opening, smear the wrong side of the paper with glue and press each piece down to make a smooth finish.
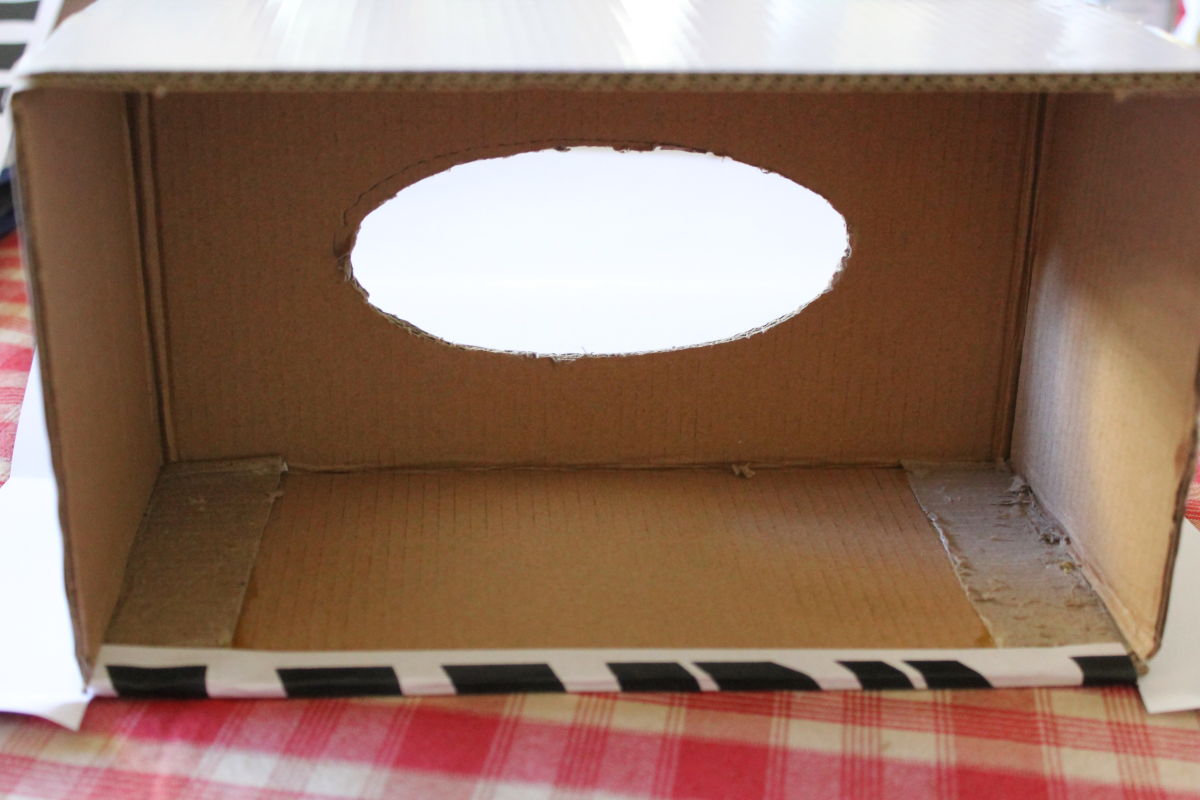
Using the deconstructed lid of the original box, measure and cut a lining piece out of brown paper. I folded the rectangle in half longways to mark and cut out the oval.

Measured and cut a long strip to finish lining the sides inside.
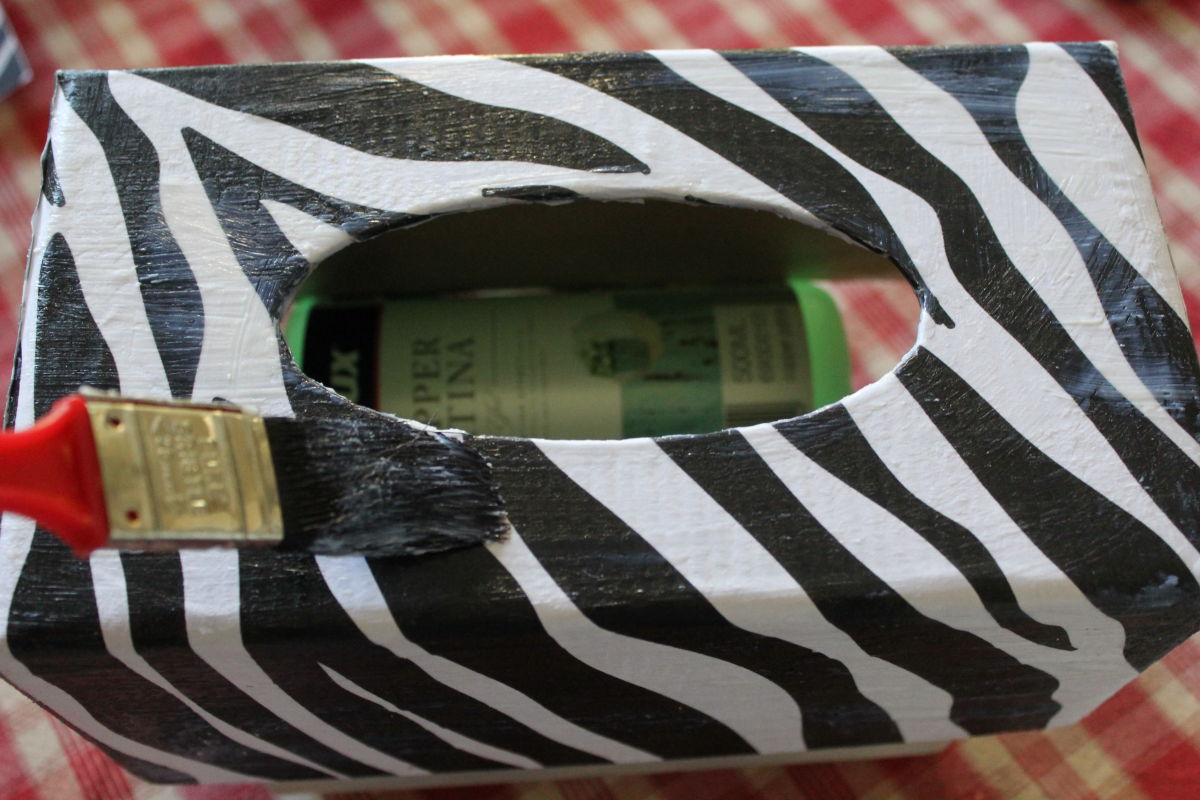
Elevated the covered box and coated it with gel medium ( Modge Podge) to make it strong and water proof.

The finished product! No ugly box, just a strong, easy, inexpensive cover.
Really happy with how the cover turned out. Later I went to the hardware store and they had the compressed wood tissue boxes to cover! Too late, I’d found out how easy it was to make my own.
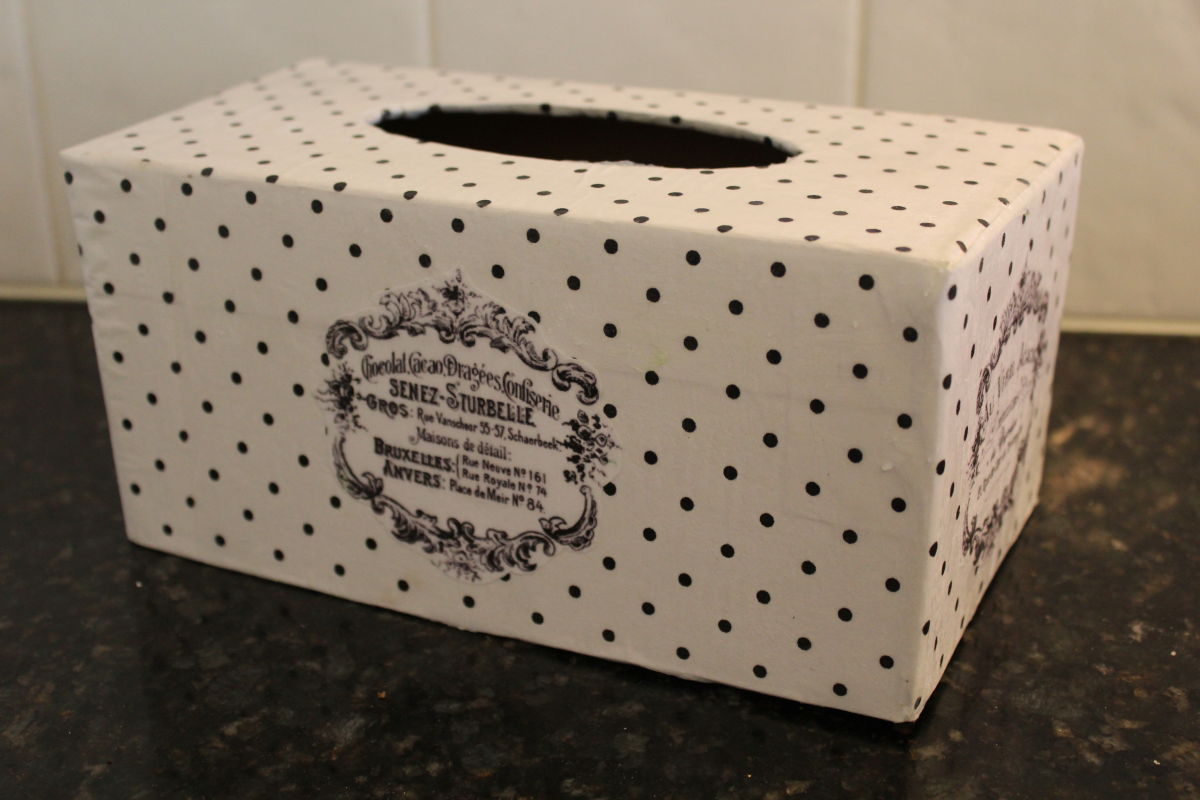
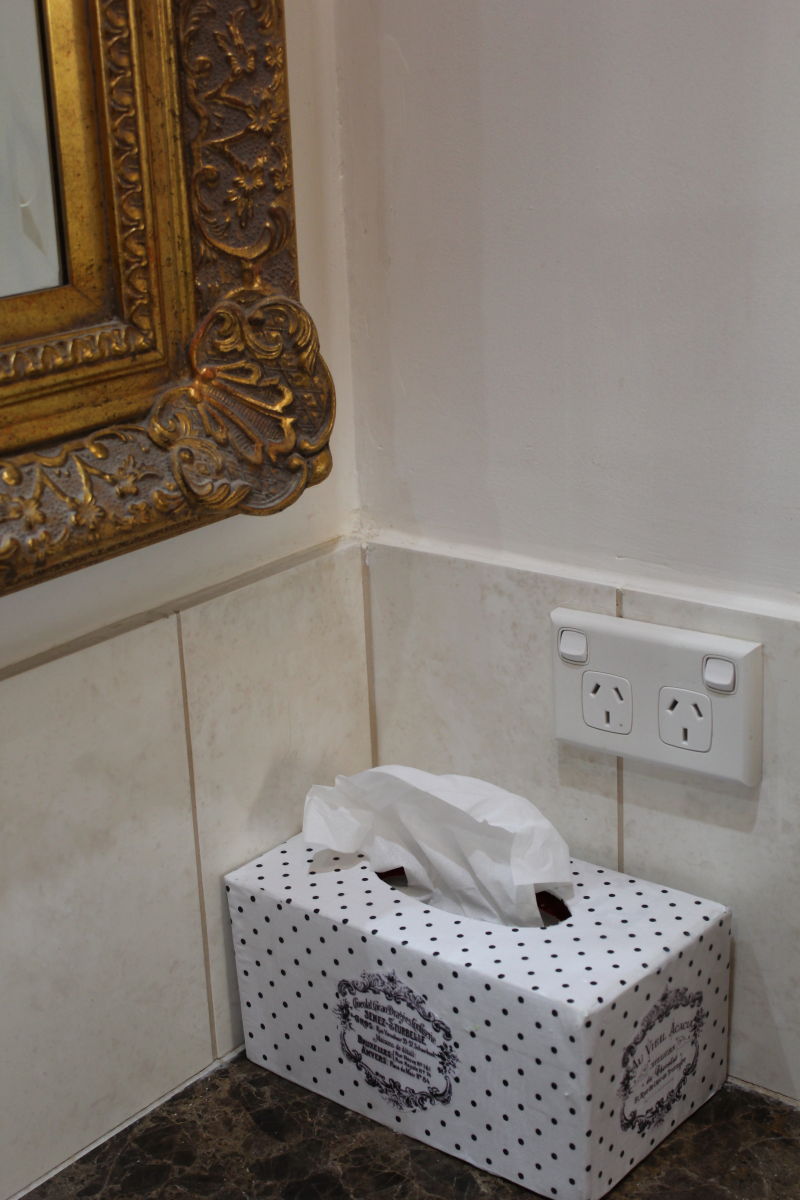
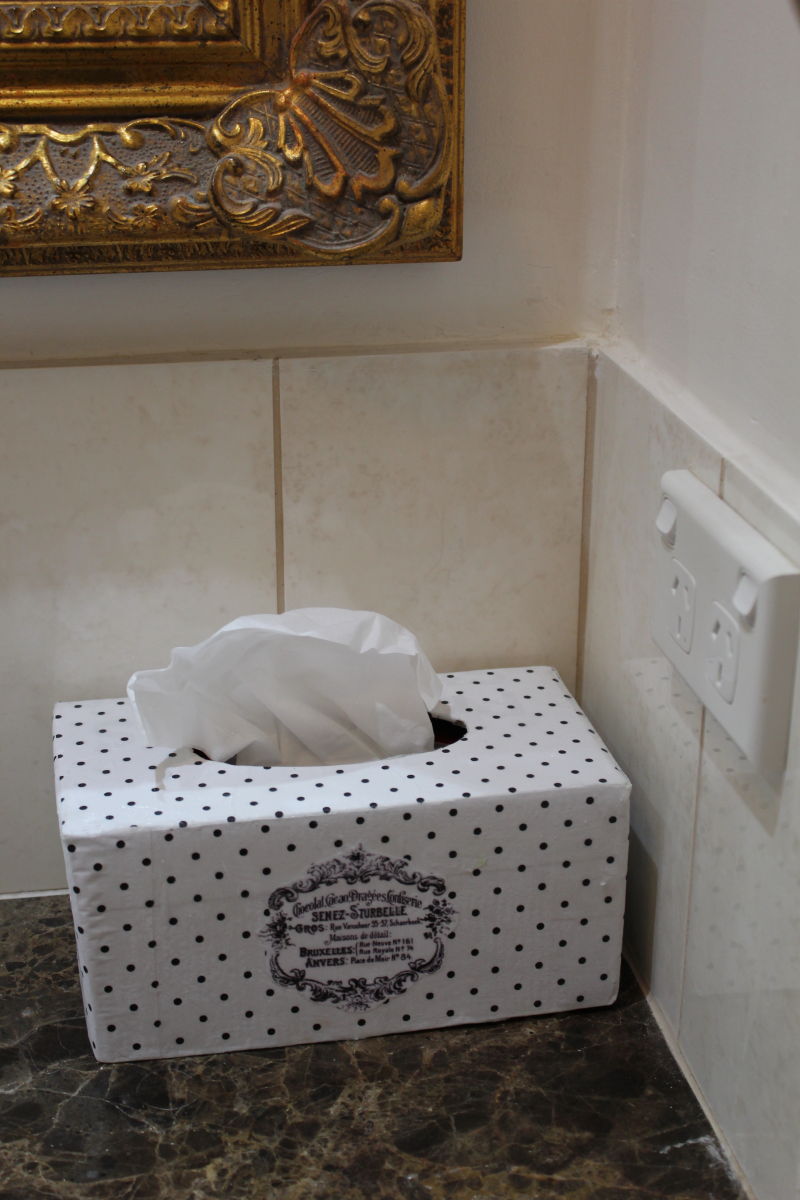
So pleased with the kitchen tissue box cover I made one for our bathroom. The French labels on all four sides are from Graphic Fairy.
Today is World Oceans Day. Introduced in 2013, the focus is on promoting healthier worldwide oceans, specifically by reducing plastic pollution. Single use plastic bags are being phased out at many supermarkets this month in Australia and many people are using their own insulated mugs for takeaway coffee and refusing plastic straws, another major pollutant. Small changes, big outcomes.