

MAKING AN UMBRELLA STAND
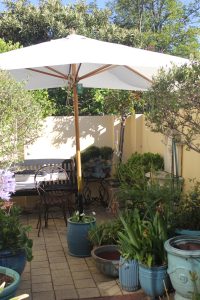
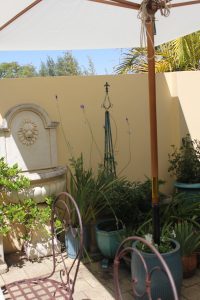
Have you ever tried to secure an umbrella in gusty winds ? An umbrella is ideal for a small courtyard as it can be put down and packed away in winter when the morning sun reaches into the house and warms the tiles, which retain the warmth throughout the day. Not ideal when cyclonic winds arrive from the north west. The cyclone season in the north west is from about December to March, the months when I need to protect some plants from the burning sun.
Our umbrella needed a strong and secure base to keep it steady. The umbrella protects the gardenias and spinach from the burning sun. It is inconvenient to have to put it up and take it down frequently.
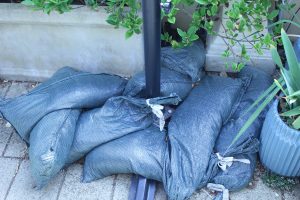
This jumble of sand bags has been stabilizing our outdoor umbrella for three years. Unattractive and slowly allowing the umbrella to lean precariously, it was time to make a more permanent and efficient umbrella stand.
Investigated online and hardware shop options. There’s a number of permanent options to insert into the ground in a cement sleeve, or water filled “tanks” to place on the base but I needed to be able to move the umbrella to protect different areas of the garden at various times of the day.
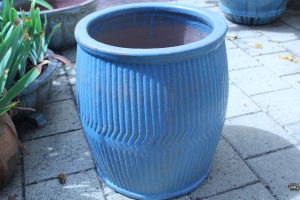
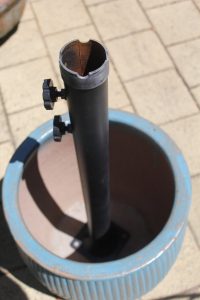
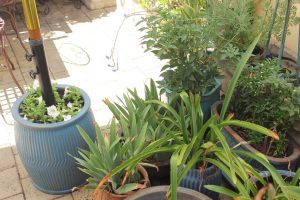
A large ceramic garden pot in a blue shade which blends well with all the other pots was the answer. It is heavy with a wide, stable base. The top part of the umbrella stem slips out of the lower section so the lower section can be secured in the pot, then surrounded by concrete. This is left to cure then sealed with grout. When this has also cured potting mix can be put on top and seedlings planted in the soil. The advantage of this system is that the umbrella can be moved to suit the direction of the sun.
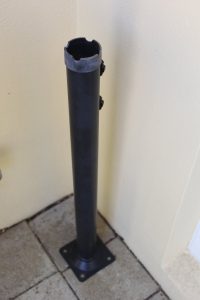
We removed the lower section of the umbrella stem and then unscrewed the “leg” section, a cross shape. Looking at umbrellas in our major hardware shop yesterday I realized most of them don’t have any sort of base now, you have to buy that separately. I investigated the options and none were what we need for our courtyard.
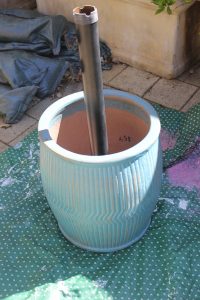
I glued the lower end of the stem to the base of the pot and sealed around it with waterproof silicone. I had marked and measured the centre of the pot as it wasn’t exactly where the drainage hole was, although it was close enough to allow any rain to drain out from around the pole. Left it to dry overnight.

Prepared the concrete. I had to work quickly as it was a very hot day.
I’d put an old plastic tablecloth under the pot which is sitting on the brick paving.
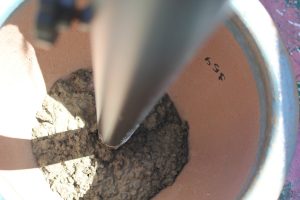
Poured in the concrete, stopping occasionally to press it down and smooth it. I was wearing latex gloves. Filled it to about a third of the pot size.
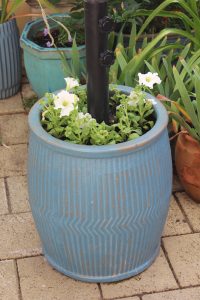
I left the concrete to dry overnight, then sealed it with a layer of grout to prevent the lime leaching into the potting mix, which was put in next. Then I planted petunia seedlings in the soil, watered and stood back to admire.
Some of the surrounding plants look burnt because they are! We had several very hot days and parts of the garden show the effects of the unrelenting heat. The brick paving and surrounding brick fence retain the heat, too.
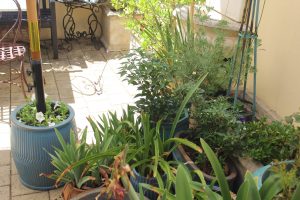
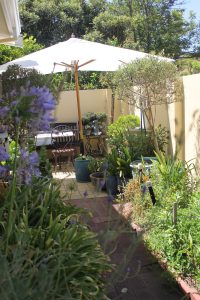
The new umbrella base fits in well with the other pots in the courtyard and has withstood very gusty winds.
A good solution to keep the umbrella stable, but hard to photograph well in a small area.
Tomorrow is Learn to Write Your Name in Morse Code Day. Morse Code, a series of unique dots and dashes, is in danger of disappearing as modern technology has replaced it as a form of communication.
There’s plenty of online information if you do want to learn to write your name or just look at the charts showing the combination of dots and dashes for each letter in Morse Code.