

MAKING GUAVA JAM
This week I was given some guavas. They smelt gorgeous! I didn’t know they grew in Perth but these had come from someone’s back garden. I set about researching ways I could preserve them. Settled on Guava Jam.
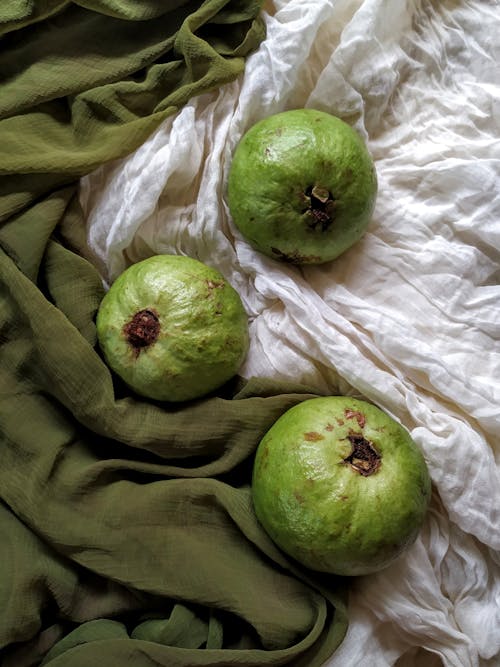
I based my recipe on several I read online, personalising them to suit the amount of fruit I had and also trying to use less sugar. The recipes I saw all used pink fruit, the fruit I had was white and slightly yellow in colour.
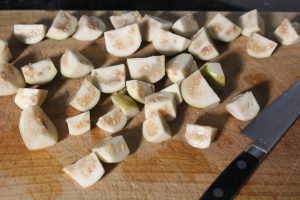
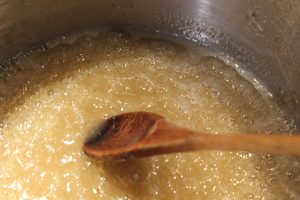
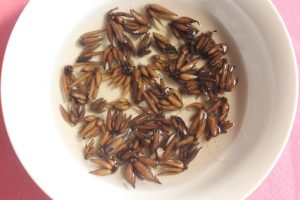
Started by washing then ‘top and tailing’ the fruit. Cut each into quarters. Put in a heavy based pot with 1 litre (4 cups) of water and boiled for 35 minutes.
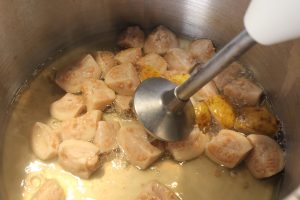
Leaving the fruit/water mixture in the pot I reduced them to pulp using a immersion blender (a Bamix, in my case) before scraping it into a sieve and straining out the seeds and thick skin. Apparently, the seeds are very tough and can damage teeth
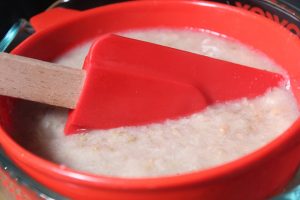
Scraped the strained pulp back into the pot and added a cup of sugar. Stirred until the sugar dissolved. Added one and a half tablespoons of pectin and stirred the jam occasionally until it thickened, probably ten minutes. I’d use less pectin if I was making the jam again.
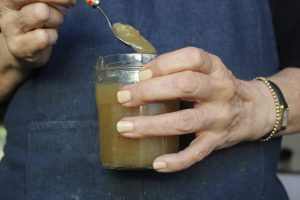
Poured it into a sterilized jar. When it was cool I put it in the fridge. It would last about a week. The nine small fruit I used made 370gm of jam. It is very sweet and smells lovely. There must be different strains of guava in different countries as all the other recipes I read showed pink fruit. These taste like guava I have eaten over seas and smell as great, too.
MAKING A SMALL BOOK
I’ve always been intrigued by the process of book making. When I saw a workshop offering ZINE making I jumped at the opportunity. It was held at the Lawrence Wilson Gallery at the University of Western Australia, led by Carla and Jo.
Zines are defined as limited circulation publications of original text and images. It refers to the self publication of unique works of minority interest. Zines are generally produced in small numbers. My zine is purely for my own use and enjoyment.
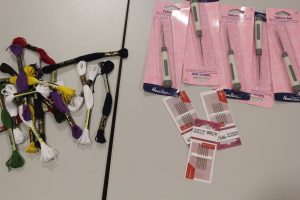
An interesting array of materials on the table when we arrived, including embroidery floss, awls and sewing needles.
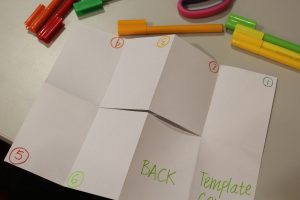
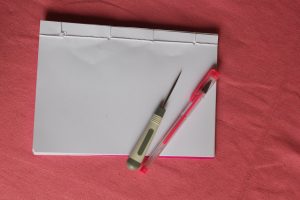
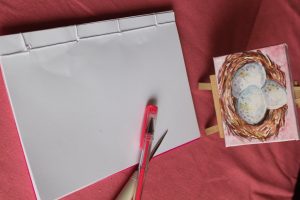
Our first activity was to create a template. We folded a sheet of A4 paper into 8 rectangles and cut across the middle two to create a simple, folded book. We then used this process to make a A3 book, folding the A3 sheet of paper into eight rectangles, too. We added a narrative, collage or a combination of both to make the book.
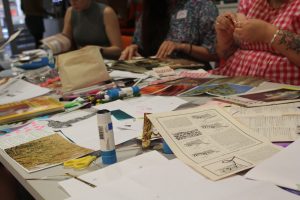
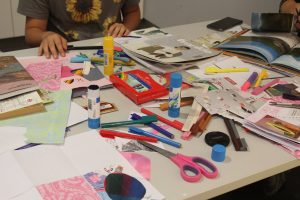
Lots of cutting, gluing, illustrating and writing to result in our books. We used fairly fragile photocopy paper which quickly became strong and thick when we glued in our cut out images from books, maps and magazines.
Then we made our zines. We had two card covers, some coloured pages, plain white photocopy paper pages and some graph paper pages. Depending on our choice of portrait or landscape book, we folded a strip of paper to create a guide for making the holes for binding our books.
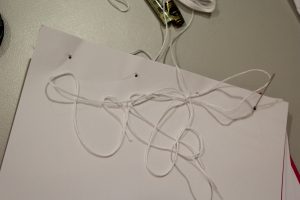
My landscape book required four holes for stitching. I marked the distance using the template then created the holes using an awl. Then we selected the embroidery floss we wanted to use, threaded our needles and were shown how to start stitching in the middle about half way in the book, to hide the tails. Stitched from the middle to the top end, stitched over the end, stitched back down to the other end, stitched over the bottom end and ended up again in the middle.
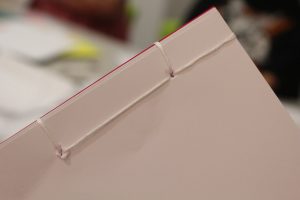
Knotted our threads to finish off then admired our books!
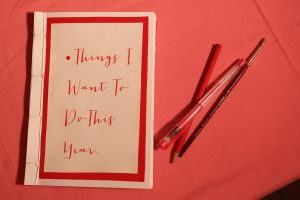
My zine has a selection of white, pink and graph pages. I have glued a label on it and begun entering paintings, text and photos to create my own personal book for this year.
I have begun a three week workshop on making a travel diary, so I am gluing the information sheets and my own work into the zine. Working on quick sketches in pen, pencil and paint to go in with my notes detailing our travels. It’s one of the things I wanted to do this year.

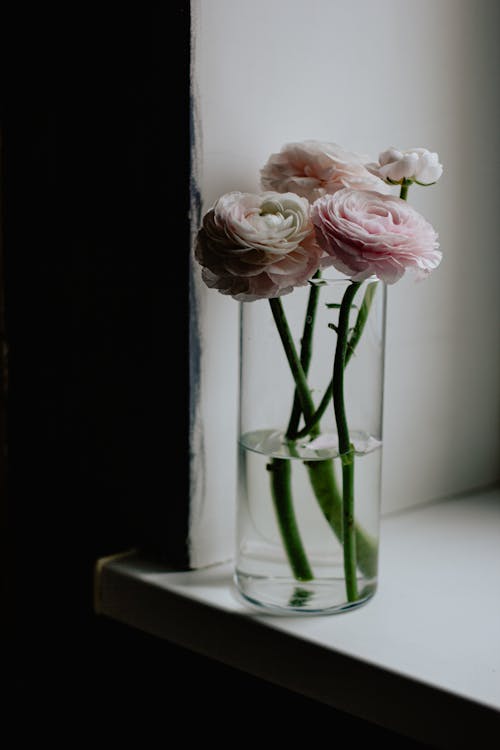
IN THE GARDEN
We have had a few cool days. Autumn is a wonderful time to get out into the garden in our region. I have planted seeds, re-potted some plants, added to a few scraggly pots and topped up the soil in pots.
I soaked the ranunculus corms in water overnight and planted them with their legs facing down. I haven’t soaked the corms before but read about it and decided to do it this year. It will be interesting to see if the seeds germinate any quicker or if the plants were stronger or have more flowers. Time will tell.
Also planted poppy seeds. When the seed pod dries out completely it cracks open and a fine, black dust spills out. This is the poppy seed! You sprinkle it over the prepared soil, water it and keep it moist until seedlings appear. The seeds don’t need covering, unlike other seeds.
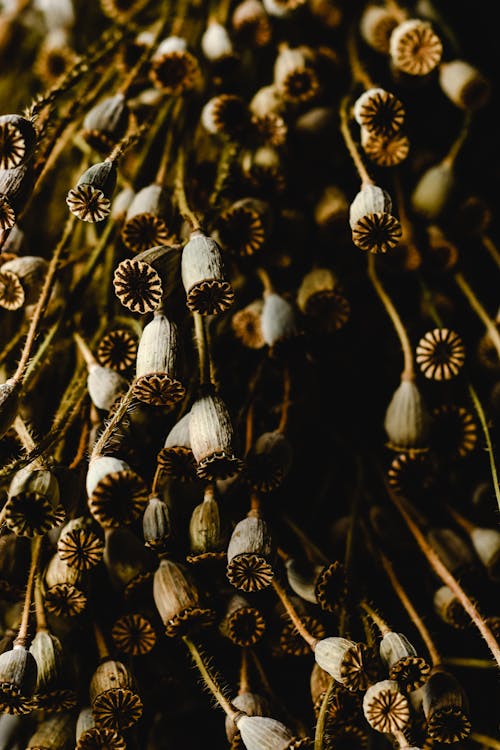
When you gather the seed heads at the end of the flowering season store the heads in a paper bag or an old envelope in a dry place until planting time next year. Always remember to label your seeds.

Did you know cigarette butts take 10-12 years to decompose?