making
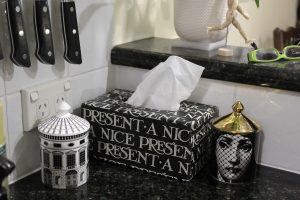
Some time ago I made covers for some of the tissue boxes around the house. I made the covers from delivery boxes (here) then covered them to suit the area where they would be placed. The tissue box in the kitchen is in constant use and was showing a lot of grubby marks! The stains could not be removed using a wet cloth so time to recover.
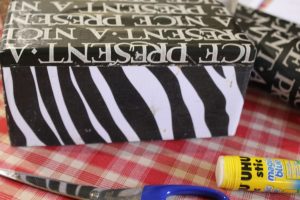
The original cover was black and white zebra print paper. I was unable to remove the unidentified stains.
The black and white pattern suited where the tissues sit so I stayed with the black and white theme. I had to cover one side and the top, then the second side as I wanted the print to be the right way up. Then I cut two rectangles for either end.
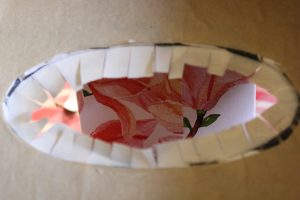
I cut a cross into the piece covering the oval hole in the top. Then I trimmed it and snipped the little edges. Glued each one pressing the edge to create a perfect oval shape.
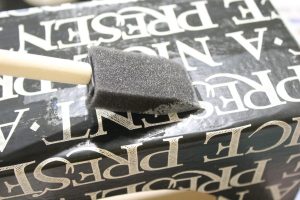
The previous zebra print cover had been sealed with Mod Podge but this certainly didn’t prevent staining. This time I used diluted PVA glue applied with a foam brush. Time will tell how effective that has been.
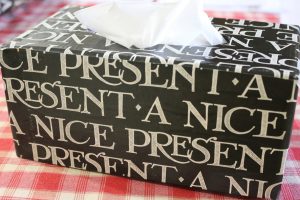
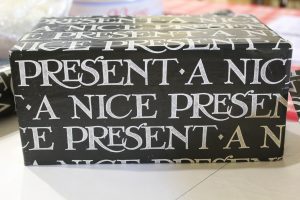
I chose black and white gift wrap for the new cover as this fits well with the other items nearby and I already had it. It is an Emma Bridgewater design called Black Toast. I have collected a lot of crockery in this design over the years and am making a point of using it regularly.
cooking
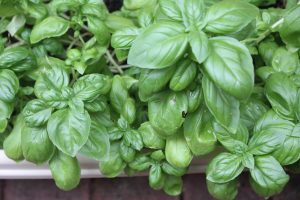
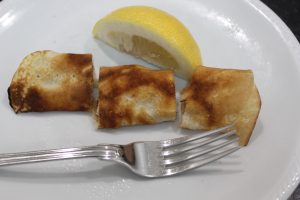
Poached Eggs Arriving back in Perth late in the evening after a few days visiting my Mother more than two hours away I looked in the fridge. I was hoping for something quick and easy for dinner but no such luck. Decided poached eggs on toast would have to do this time. This is how I poach eggs. Take two large mugs and half fill them with boiling water from the kettle. Add a splash of vinegar. Gently crack an egg into each mug then microwave on full for 90 seconds. Meanwhile, make two pieces of toast. (I spread pesto on mine!) Place the toast on a plate and gently remove the cooked eggs from the mugs using a slotted spoon. Slide onto the toast. Grind of pepper and some salt. A couple of tomatoes from the garden. Delicious.

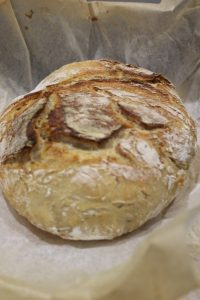
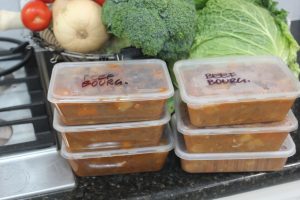
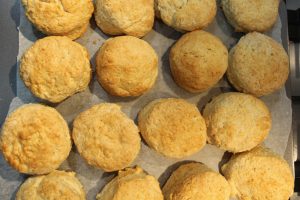
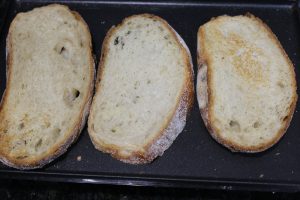
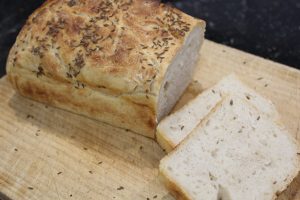
Sourdough Bread. Articles about sourdough bread always show gorgeous rustic boules, but I like fairly regular slices. For years I have baked my bread in a parchment lined, rectangular glass Pyrex dish. Then I bought a double walled metal bread baking tin. Cooked at the usual temperature and for the same time, the loaf from the tin was more golden all over and beautifully cooked. So now I will use the tin to cook my bread.
KNIVES I have a rack of kitchen knives and like to keep them very sharp. One of my jobs was to soak the whet stone and then sharpen and wash the knives. Also bought a new bread knife but it has been a huge disappointment so I’m back using the semi-blunt one. Seeking a new knife. Any recommendations?
growing
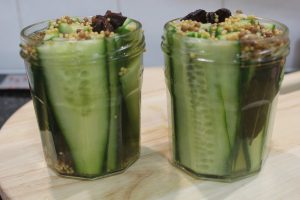
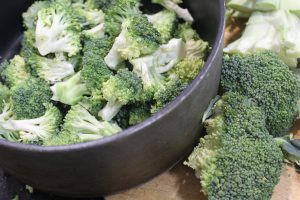
I regularly apply Epsom Salts (magnesium sulphate) to my gardenia bushes. They are healthy and well established. They are covered in blooms twice a year. I mention their health and generous blooms because I just read on the packet the Epsom Salt came in that it should be diluted in 4 litres of water then poured around the base of the bushes. For about thirteen years I have scattered the salt around stems, then watered them, so not the recommended way to use Epsom Salts but no damage so far!

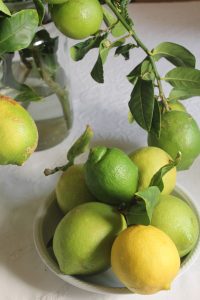
Other uses listed on the packet include relieving sore or tired muscles, soothe aching joints, fabric softener and general plant nutrient. For tomatoes, citrus and lettuce the recommended dose is 25 tablespoons of salt dissolved in 4 litres of water then sprayed on the plants when it is cool. If you’re applying Epsom Salt to remedy magnesium deficiency in the soil, dissolve 2 tablespoons in 4 litres of water. Make sure the salt is dissolved. Magnesium Sulphate is also used in flotation tanks instead of sodium chloride.

The gardenias have thrived on wrongly applied Epsom Salt.
A quick review of the common uses of Epsom Salt just before I posted revealed many more uses, such as a warm bath with added Epsom Salts just before bed aids sleep, it reduces the swelling of sprains and bruises and helps reduce swollen feet and draw out splinters. The list continues with using diluted ES to treat insect bites and bee stings and spray it on sunburn. Interestingly, 1 tablespoon of ES diluted in 1 litre of water poured around the base of tomato bushes results in more fruit. Have I missed anything?
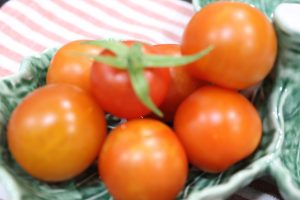
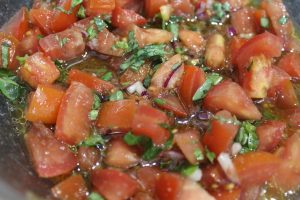
Regular readers know I am growing a tomato forest. These mid-sized fruit taste so good and we often eat them before they get inside. For years I read about people who weigh every tomato and calculate their harvest at the end of the season but I’m just keeping a tally of how many tomatoes we pick.

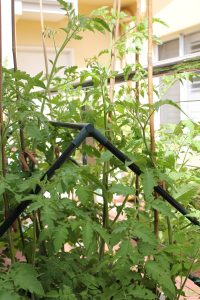
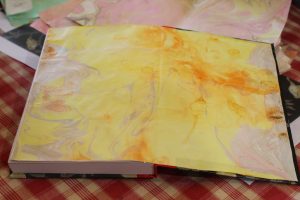
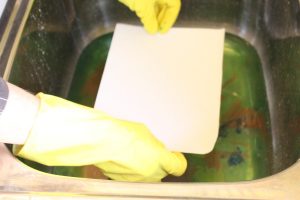
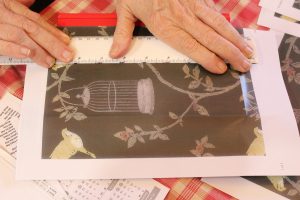
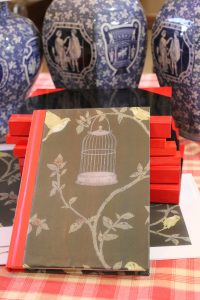


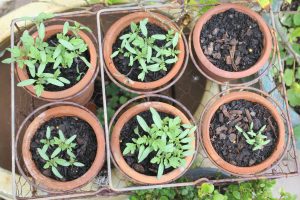
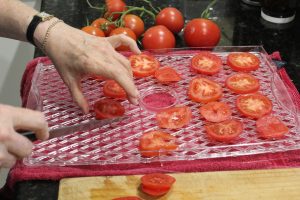
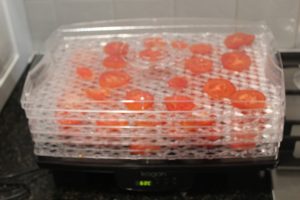
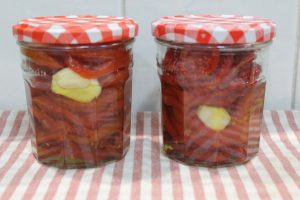

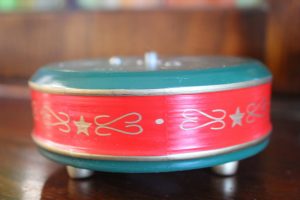


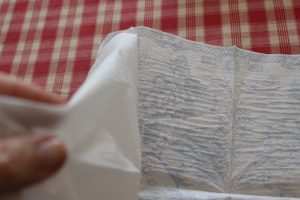

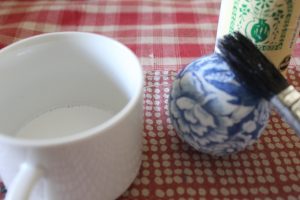
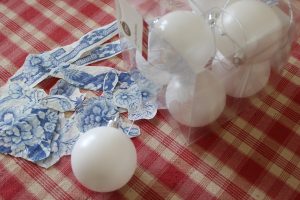

 Image Pexels
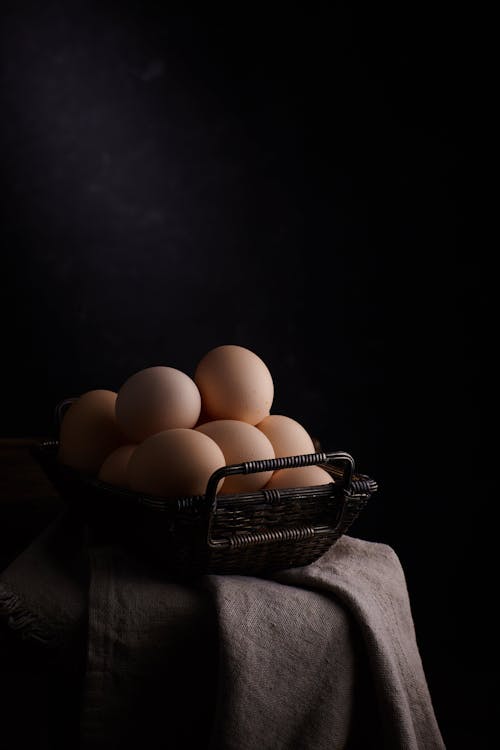
 Image Pexels
 Image Pexels